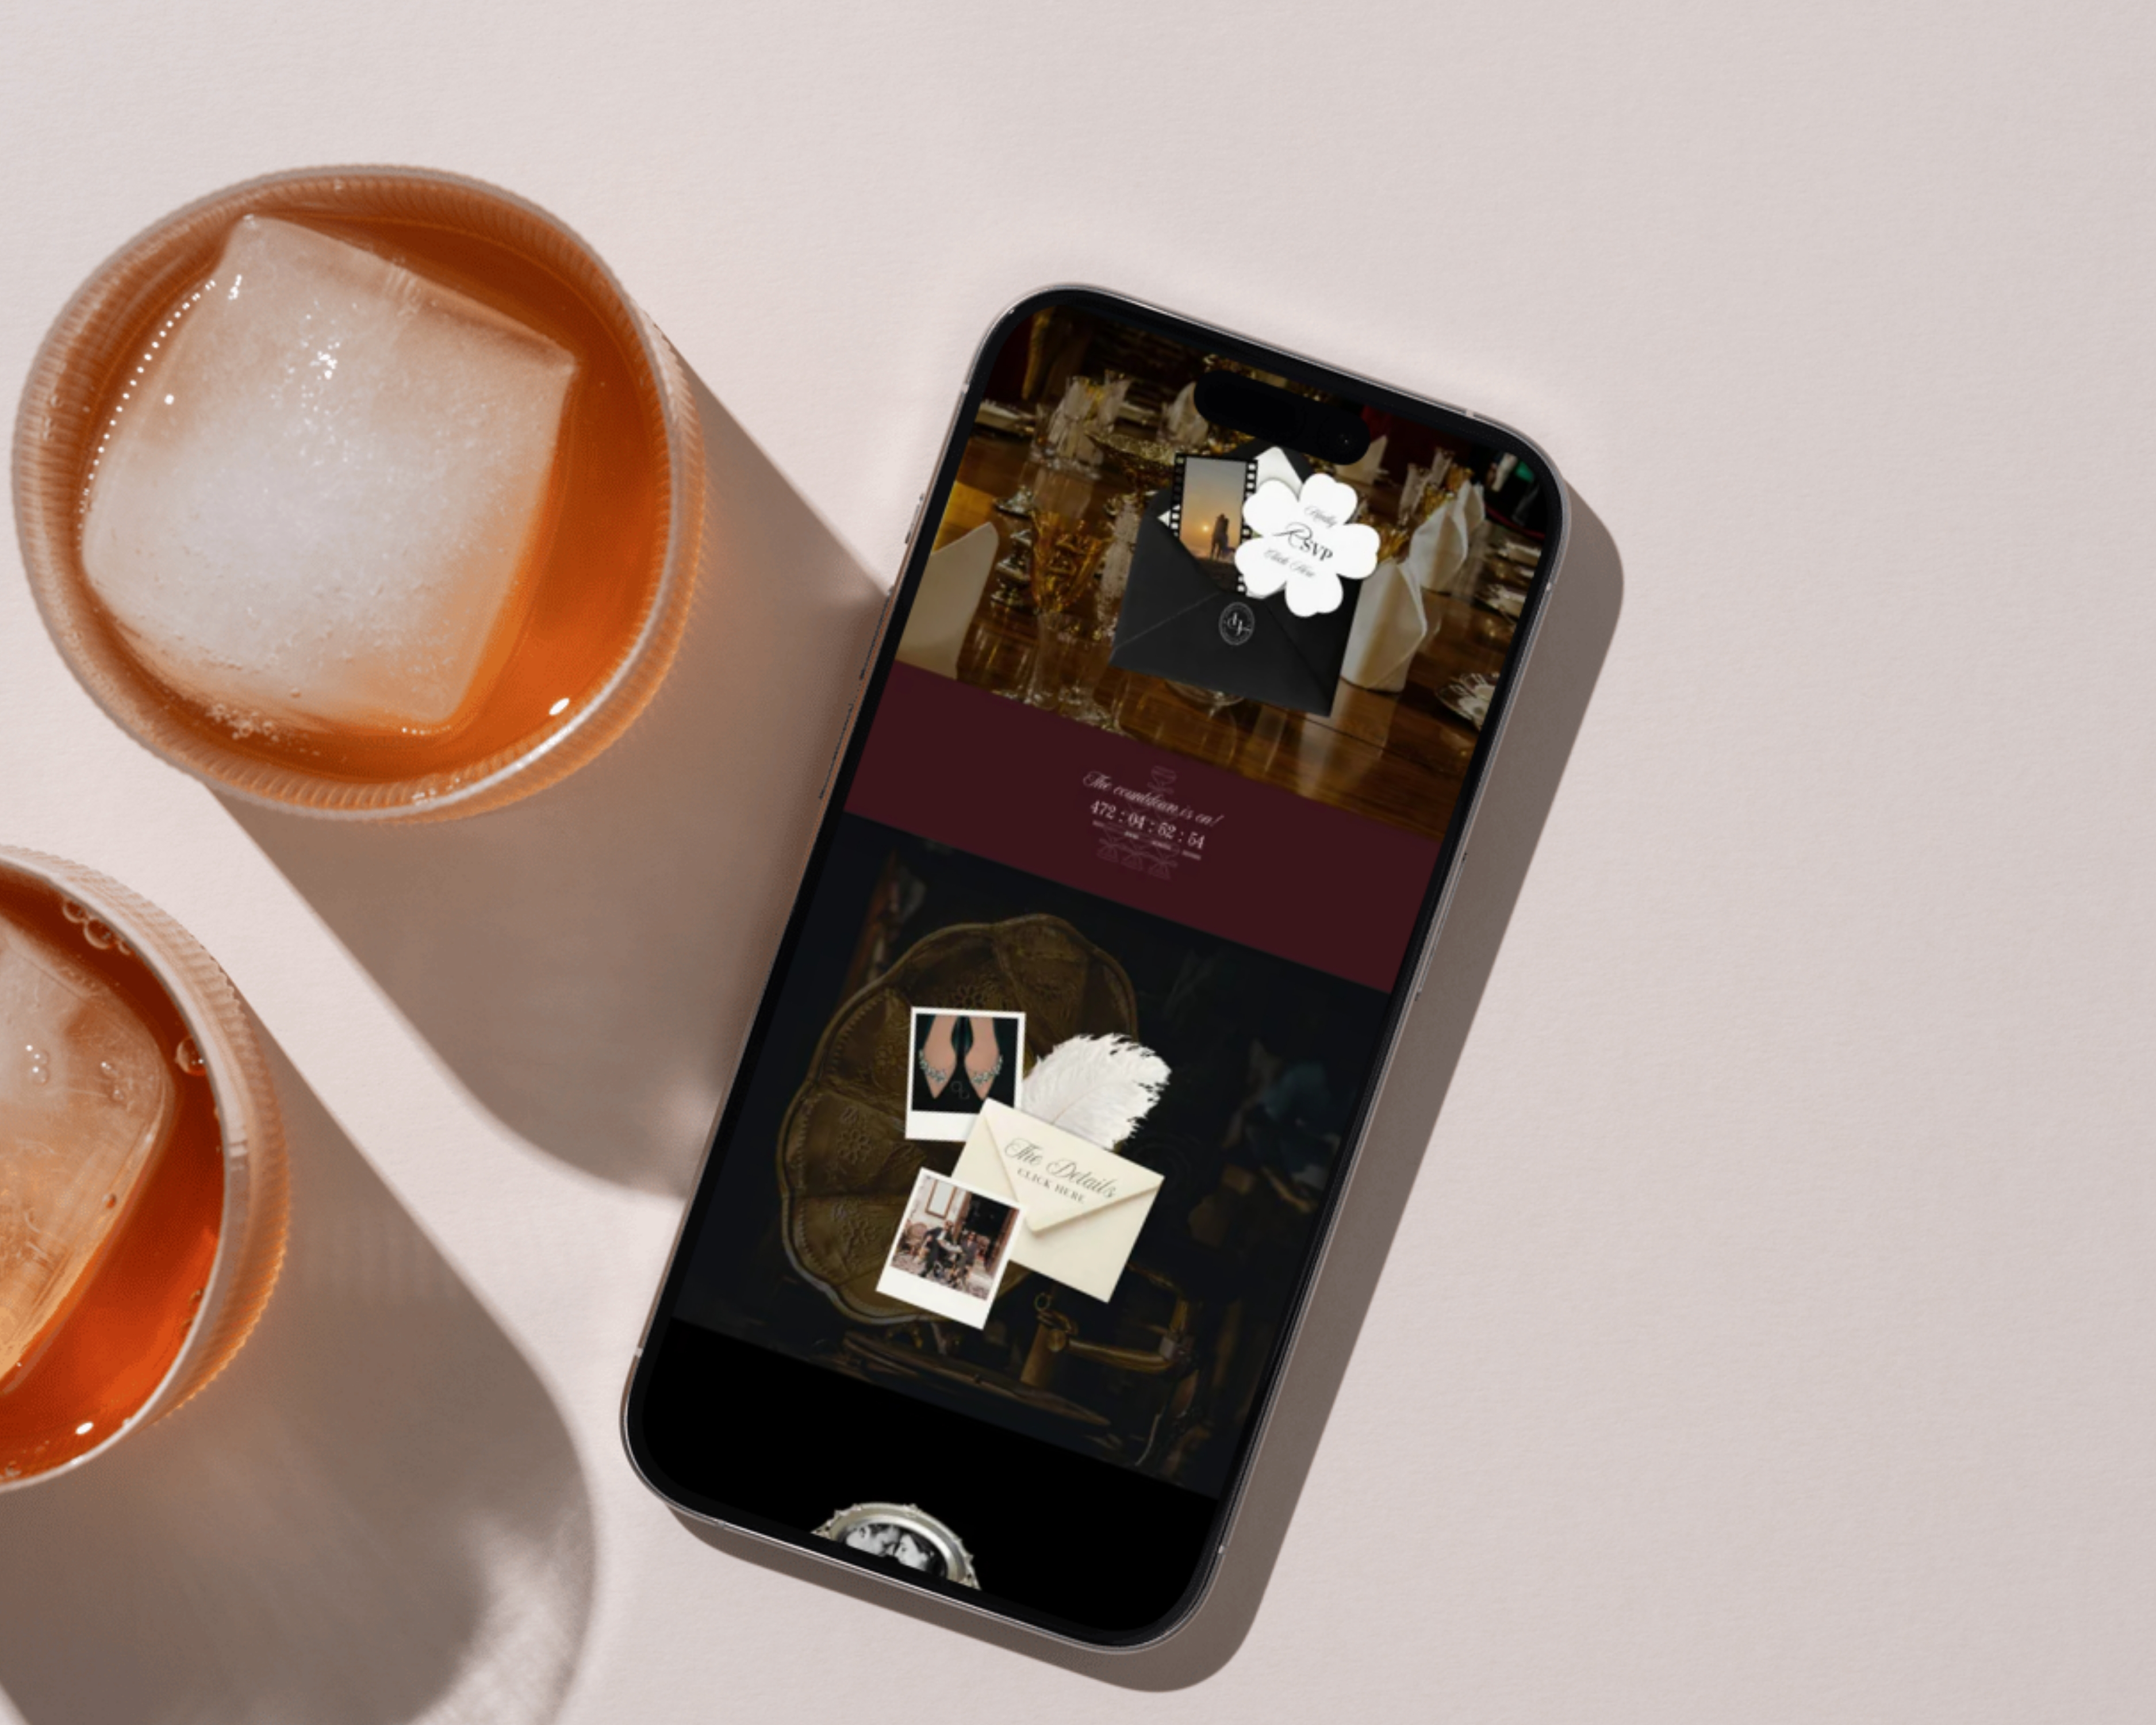
Hi lovely. If you just typed "how to make a wedding website in Canva" into Google and landed here with a blank Canva dashboard open in the other tab, take a breath. You don't need to design anything from scratch tonight.
Most walkthroughs hand you a blinking cursor and twelve hours you don't have. You came for a wedding website, not a graphic design course at 11pm with cold tea beside you. So here's the honest version, the one I'd tell a friend: the fast way to a wedding website in Canva isn't to build one. It's to start from a template that's already designed, and spend your evening making it yours.
That's the whole shortcut. Everything below is just how you go from "opened a template" to "shared the link" in a single afternoon.

Why starting from a template is the fast way (not the cheat)
Here's the quiet truth behind a lot of the wedding sites you've scrolled and admired: those couples didn't start from nothing either. Beginning with a finished design and changing the words isn't cutting a corner. It's the corner the people who looked like they had it together already cut.
The reason it's so much faster is simple. When you start from scratch, you're solving two problems at once: what it should look like, and what it should say. A template answers the first one for you, so the only part left to you is the part that's actually about your wedding, which is the words. And the words are what make a site feel like the two of you anyway.
So we're going to skip straight to the part that matters and leave the design where it belongs — already done.
Step 1: Start from a template you'd be happy to send
Open a wedding website template you genuinely like. Pick by feeling, not feature list. Go with the one that looks like the wedding you can already picture. Sage and cream? Moody and romantic? Old-money black and gold? Choose the vibe first; you can fine-tune later.
This is the whole reason templates exist, and it's exactly what our wedding website templates are for: every page is built and laid out, so you open it and the structure's already standing. You're not the architect tonight. You're the person moving in and hanging their own photos.
One gentle note, since I get this question a lot: you don't need to keep every page. If your wedding's a one-day, one-venue affair, you can hide the travel page and the weekend-itinerary page without touching anything else. Fewer pages, less to fill in, still looks complete.
Step 2: Swap in your words (this is where the time actually goes)
Filling in the words is the real work, and it's the part that stalls people — not because it's hard, but because of the blank field. So I'm handing you the words. Copy a block, change two or three things, move on. That's the speed.
Here's your welcome line, the first thing guests read. Three versions, depending on your tone:
Formal: Together with our families, we invite you to celebrate our marriage. We're so glad you're here — everything you'll need is just below.
Casual: We're getting married, and we're so happy you're here. All the details live on this page — dates, directions, and how to let us know you're coming.
Themed / playful: Pack your dancing shoes — we're tying the knot. Scroll down for the where, the when, and the how-to-RSVP.
For your story page, you don't owe anyone a novel. A short, warm paragraph does more than a timeline of every date you've been on:
We met [where], fell for each other [when], and somewhere between [tiny specific detail] and [tiny specific detail], we knew. We can't wait to celebrate with the people who got us here — that's you.
The details page is the one guests actually come back to, so make it skimmable. Give them the bones:
The day: [Date] Ceremony: [Time] at [Venue], [City] Reception to follow: [Venue if different] Dress code: [e.g., garden formal — think florals and linen]
If people will travel to you, two hotel options is plenty. More than that and you've made a chore out of a kindness:
We've blocked rooms at two spots close to the venue: [Hotel A] for [vibe/price] and [Hotel B] for [vibe/price]. Book by [date] for the group rate. Getting around is easiest by [car / rideshare / shuttle].
Step 3: Make the colors match what you already have
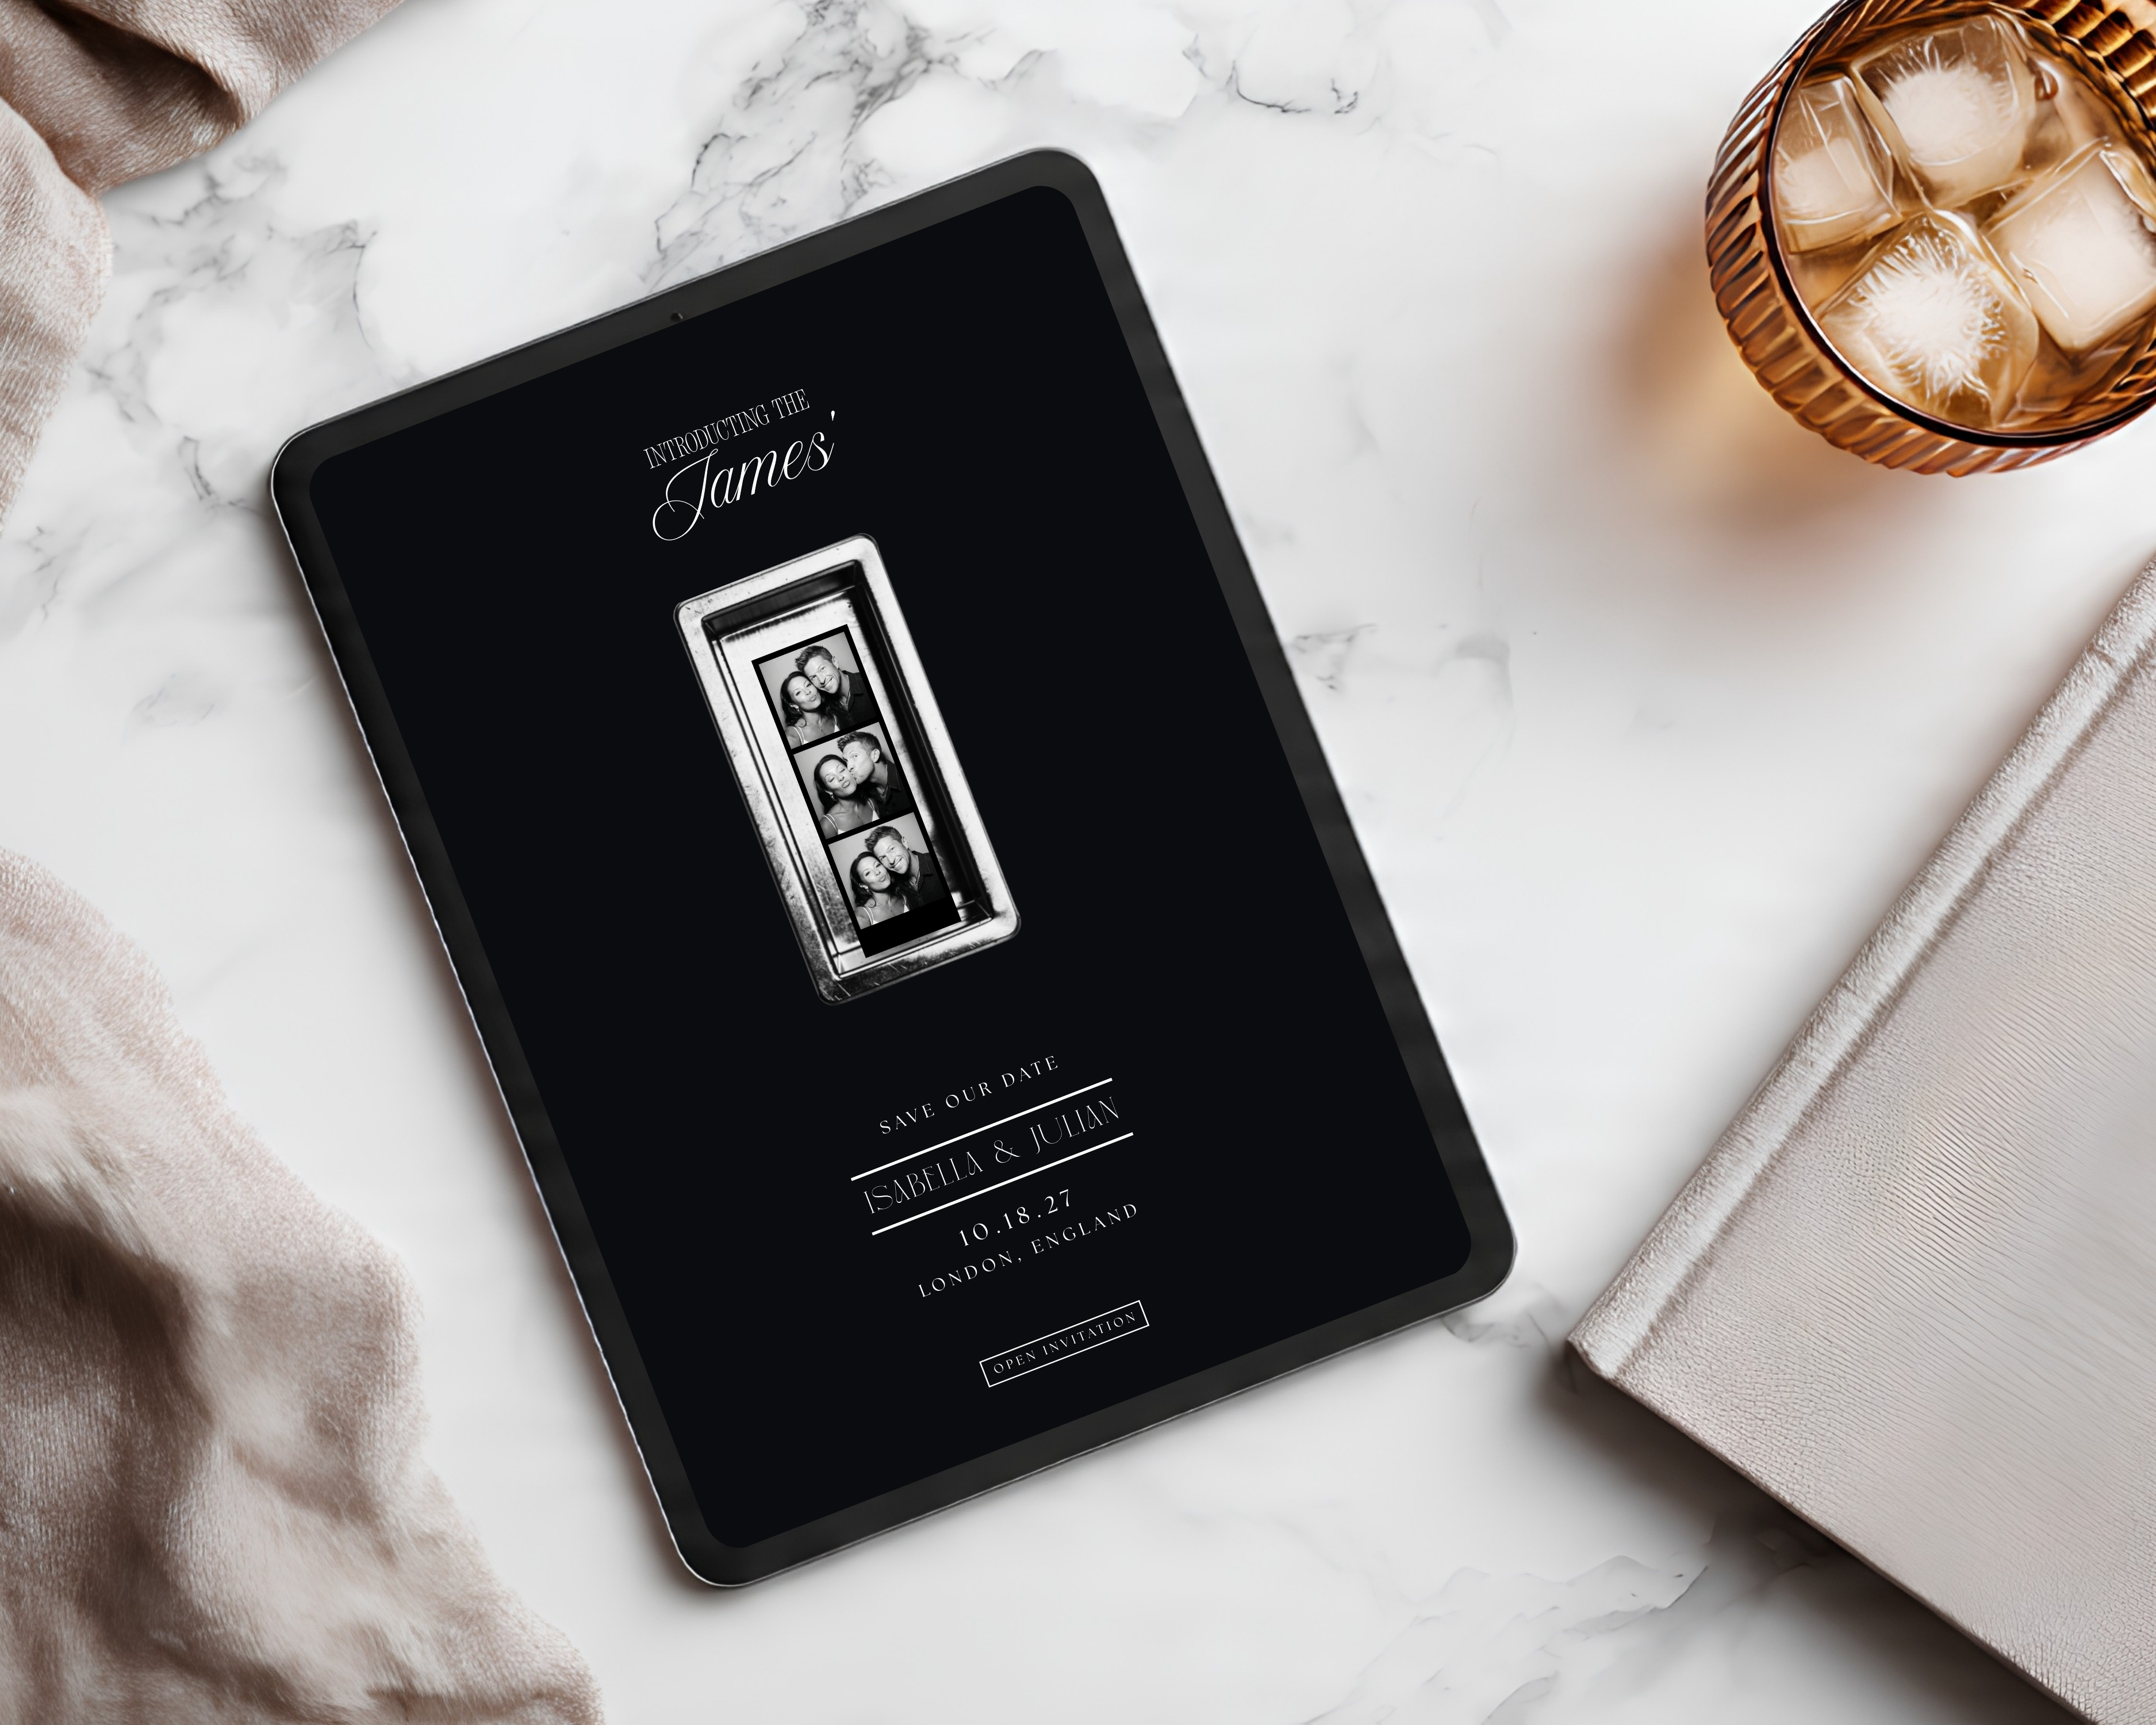
You don't have to redesign anything to make a template feel custom, loves. The quickest move is to match it to something that already exists: your save-the-dates, your invitations, a palette you've been saving on Pinterest.
In Canva, you change a color by tapping the element and choosing a new shade. The fast, safe way is to change one accent color throughout rather than rethinking the whole scheme — swap the deep green for your dusty blue, leave everything else, and the site shifts to match your day in about a minute. If your stationery already lives in the Easy Aisle world, the template's palette is built to sit next to it, so often you're barely changing a thing.
Resist the urge to touch every shade. A template looks pulled-together because its colors were chosen to work as a set. Change the lead color, keep the rest, and you keep the polish. And if you're drawn to the pared-back, expensive-looking end of things, how to design a minimalist wedding website that still feels luxe walks through that look.
Step 4: Set up the RSVP so guests actually use it
A pretty site does its quiet job when the RSVP is easy to find and easy to answer. Your template already has the form ready; you just point it where you want the replies to land and write a line that invites a response instead of nagging for one:
We'd love to know you're coming. Tap below to RSVP by [date] — it takes about thirty seconds, we promise.
The mechanics of connecting the form and making the button impossible to miss have a few small steps, and I've walked through every one in how to collect RSVPs online without annoying your guests. Keep that open in a tab while you do this part.
Step 5: Check it on a phone before anyone else does
Almost every guest will open your site on their phone, standing in a kitchen, half-reading. So before you share it, look at it the way they will. In Canva you can preview the mobile view and tidy anything that wrapped oddly, like a long heading or a photo sitting too low. Five minutes here saves you the "I can't find the address" texts later.
Step 6: Publish and share the link
This is the step that trips people up, and it's the shortest. Once the words are in and the colors are yours, you publish the site and Canva gives you a link. That link is what goes on your save-the-dates, in your invitations, in your group chat.
There's a little ceremony to publishing and getting a clean, shareable link, but it comes down to a couple of clicks: your template's set up so the site goes live and hands you the link to copy.
And if you're still deciding what each page should actually say, what to write on your wedding website: the page-by-page guide goes room by room with copy you can lift.
What this looks like start to finish
Lovely, here's the honest timeline. Pick a template: ten minutes. Paste your words in from the blocks above: an hour, maybe a little more if you stop to write your story properly. Match one color, set the RSVP, check your phone, and publish: another half hour. One afternoon, and you have a wedding website that looks like you handed someone a brief and a budget. If you'd like that mapped out ahead of time, a one-evening setup plan for busy couples walks the same path step by step.
You didn't. You started from something already beautiful and made it yours, which is the part that was ever going to matter.
That's the whole idea behind Easy Aisle — beautiful shouldn't be reserved for big budgets, and the shortcut should feel like a gift, not a compromise. When you're ready, our wedding website templates are sitting right here for you, every page already built so you can spend your evening on your words instead of a blank screen.
Made it yourself. Looks like you didn't. 🤍