Let's be real: you're planning a wedding while working full-time, trying to maintain some semblance of a social life, maybe training for your friend's half marathon, and honestly just trying to remember to buy groceries. The idea of spending multiple weekends building a wedding website from scratch? Not happening.
Here's the good news: it doesn't need to take that long. With the right approach (and the right tools), you can have a beautiful, fully functional wedding website done in one evening. We're talking start to finish—launched and ready to share with guests.
This is your step-by-step plan for getting it done without sacrificing your entire Sunday or staying up until midnight on a weeknight. Let's go.
Step 1: Gather Everything You Need First (15 minutes)
The biggest time-waster when building a wedding website is stopping every five minutes to hunt down information or dig through your camera roll for photos. So before you open anything, get everything you need in one place.
Here's your checklist:
Wedding Details:
- Full names (as you want them to appear)
- Wedding date
- Ceremony location (name, full address)
- Reception location (name, full address, if different)
- Dress code
- Timeline (ceremony time, cocktail hour, reception)
Travel Info:
- Nearest airport
- Hotel recommendations (names, websites, any group codes)
- Transportation notes (parking, rideshare availability, shuttles)
Your Story:
- Quick notes on how you met, first date, the proposal (doesn't need to be written out yet, just jot down the main beats)
Photos:
- 5-10 photos of the two of you (engagement photos if you have them, or just good photos from your camera roll)
- Headshots of your wedding party if you're including that page (optional)
Registry Links:
- Any registry URLs or cash fund links
Once you've got all of this in a folder on your desktop or a Google Doc, you're ready. This prep step saves you so much time later.
Step 2: Pick Your Template and Get Familiar (10 minutes)
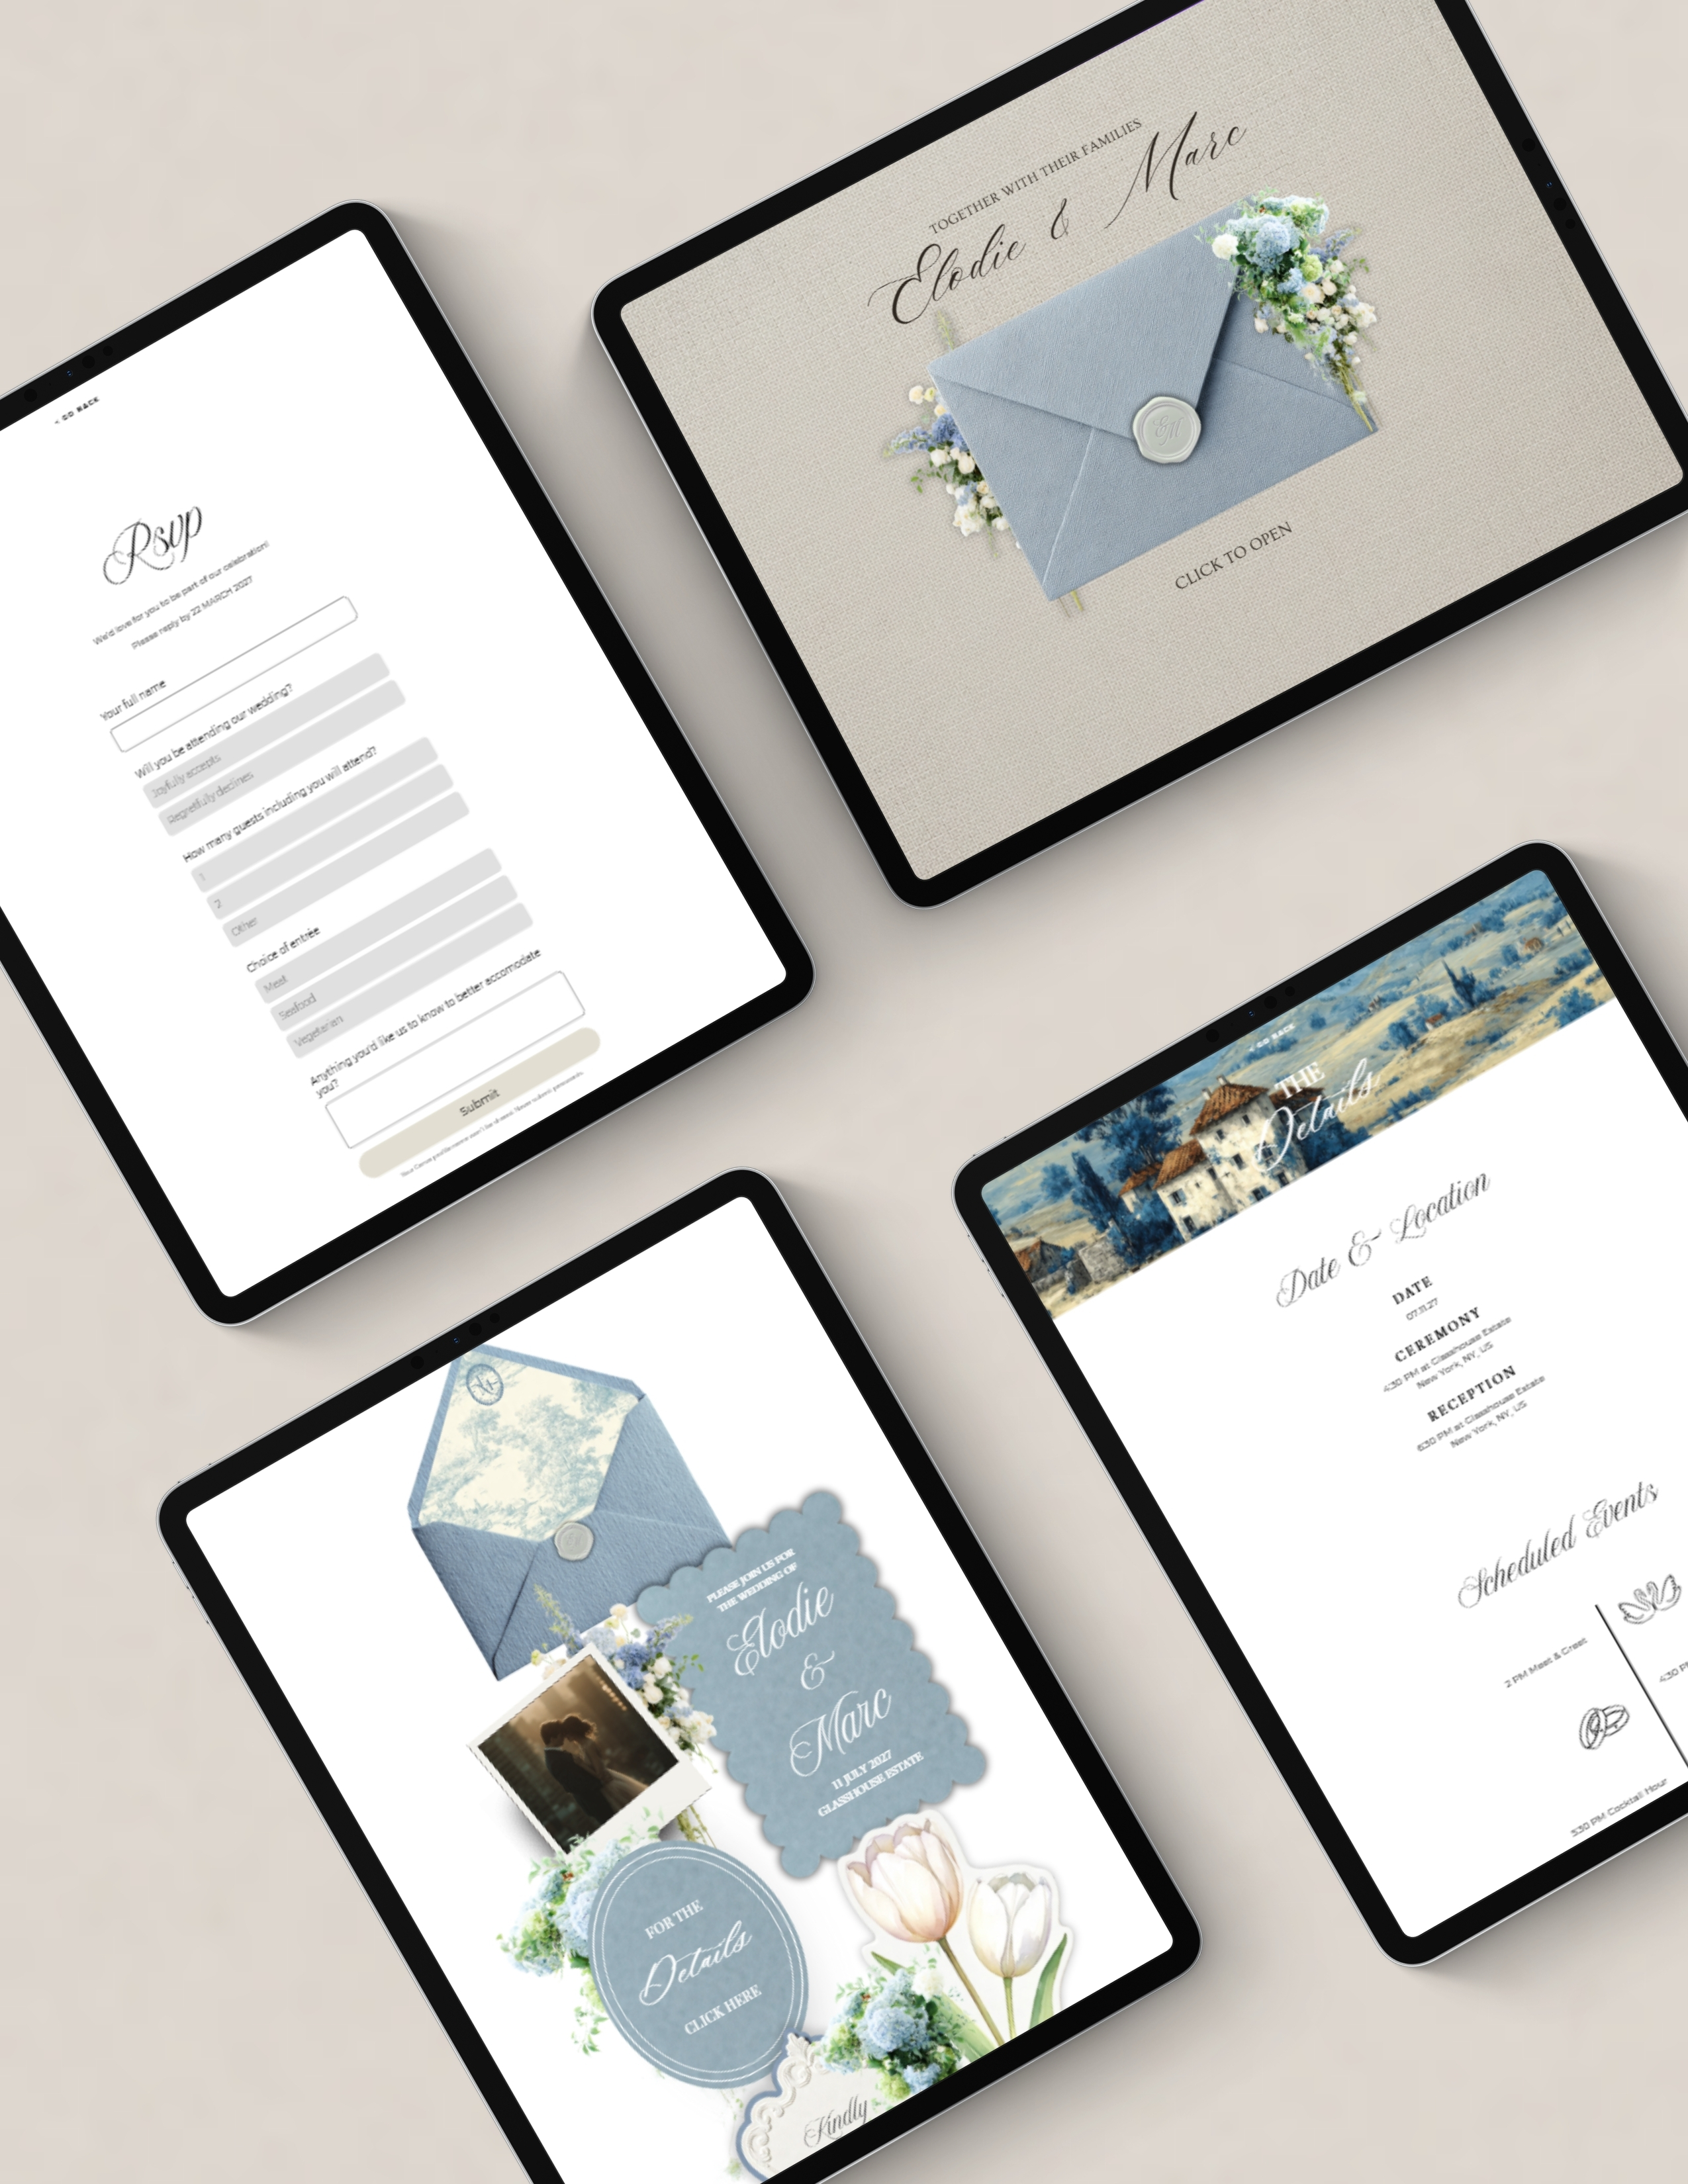
This is where having a pre-designed template saves you literal hours. Instead of starting with a blank page and making a thousand tiny design decisions, you start with something that already looks great.
When choosing your template, ask yourself:
- What's the vibe of our wedding? (Minimalist, bohemian, classic, colorful, modern?)
- What style do we naturally gravitate toward in other areas of life?
- Which template feels the most "us" at first glance?
Go with your gut. You can always customize colors and fonts, but starting with a template that already feels close to your aesthetic means way less work.
Spend a few minutes clicking through the template to see what pages are already built and what you'll need to customize. Most templates include: Home, Our Story, Wedding Party, Venue & Schedule, Travel, RSVP, FAQ, and Registry. That's everything you need.
Step 3: Customize the Easy Stuff First (20 minutes)
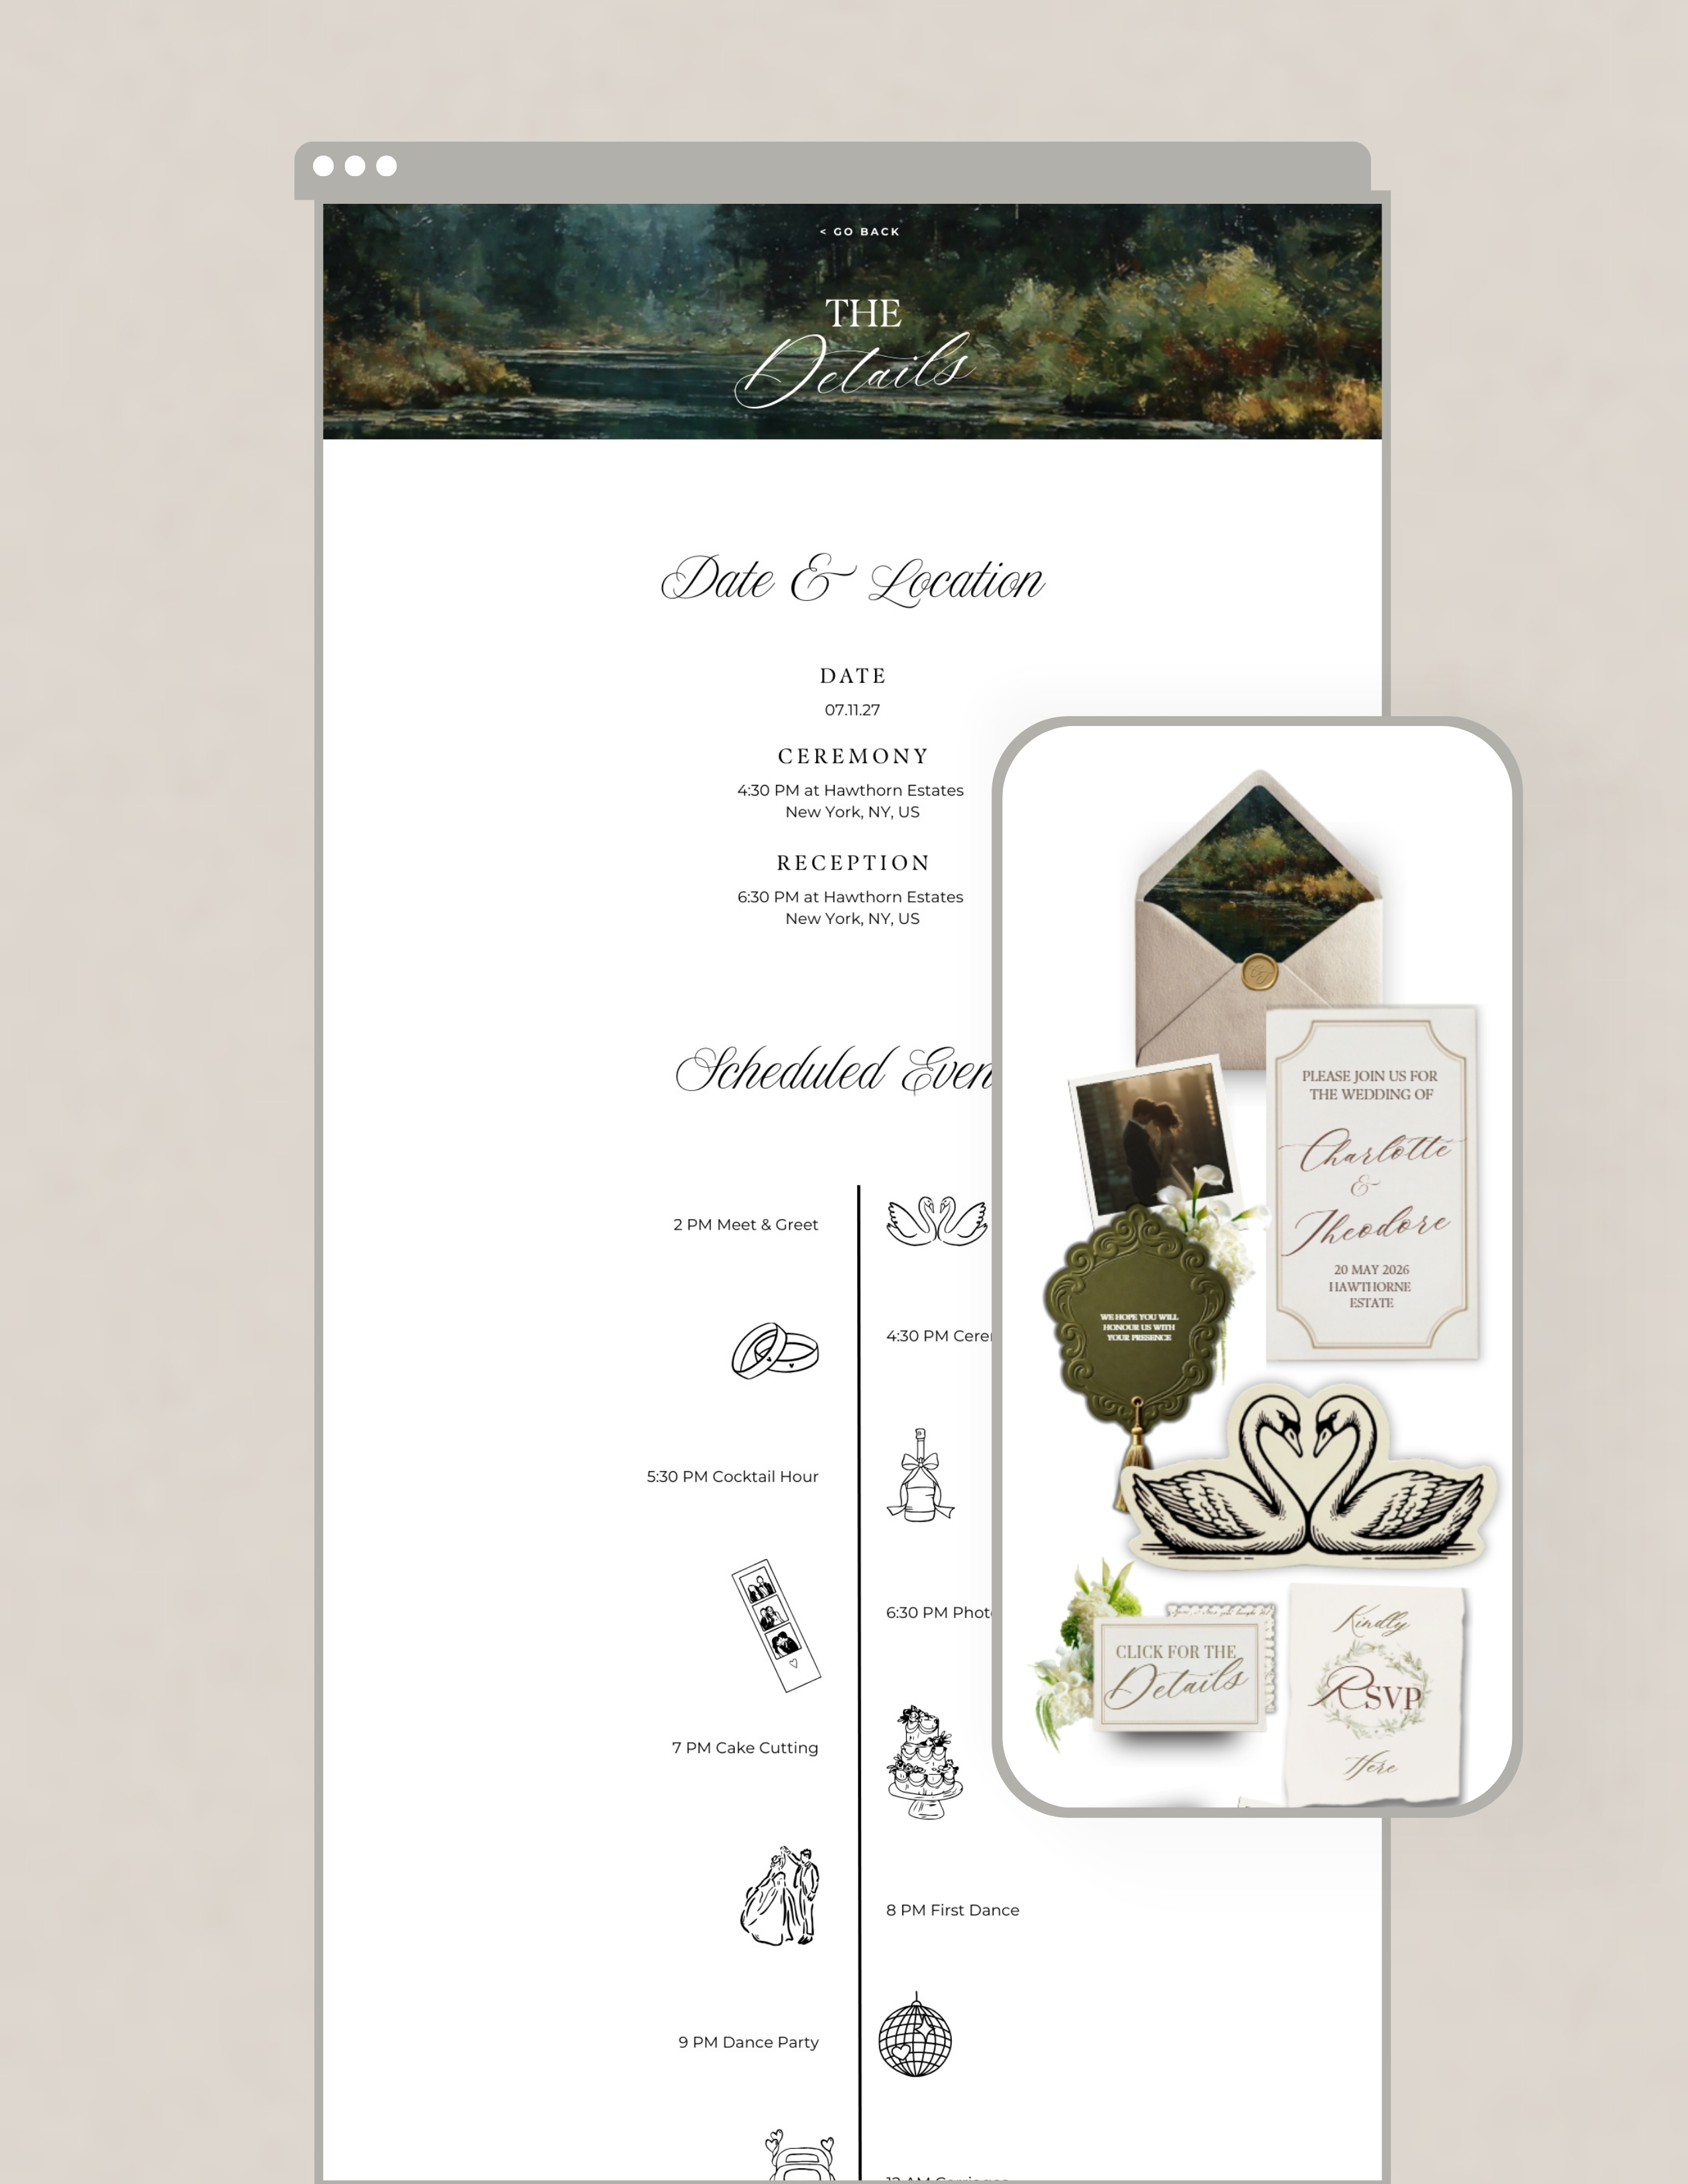
Start with the low-hanging fruit—the pages that are basically just plug-and-play.
Home Page:
- Replace the placeholder names with yours
- Update the wedding date and city
- Swap in a great photo of the two of you
- Write a quick welcome message (2-3 sentences max)
Venue & Schedule:
- Drop in your ceremony location, address, and time
- Add your reception location and timeline
- Include your dress code
- Optional: add a Google Maps link for easy directions
Registry:
- Paste in your registry links
- Add a quick note ("We're registered here, or feel free to contribute to our honeymoon fund!")
Contact:
- Add your wedding email or a simple contact form
- Include your planner's info if you have one
These pages are straightforward. You're literally just swapping out placeholder text with your real information. This should take 20 minutes tops, and when you're done, your website is already 60% finished.
Step 4: Write Your Story (20 minutes)
This is the part people overthink. You don't need to write a novel. You don't need it to be perfect. You just need it to sound like you.
Use this simple structure:
How We Met (3-4 sentences):
"We met in [year] through [how]. [Name] was immediately drawn to [something genuine], and [Name] loved [something genuine]. Our first conversation lasted [detail], and we've been [together/inseparable/best friends] ever since."
The Proposal (3-4 sentences):
"On [date], [Name] planned the perfect [type of proposal] at [location]. [One sweet detail about the moment]. [Name] said yes, and we've been [engaged/planning this wedding/celebrating] ever since."
Optional – What We're Excited About:
"We can't wait to celebrate with everyone we love in one place. Also, the cake. We're really excited about the cake."
That's it. Nine sentences and you're done. Add 2-3 photos to this section and move on.
Step 5: Build Your FAQ Page (15 minutes)
The FAQ page is one of the most useful pages on your site, and it's also really quick to set up because you're literally just answering the questions you know people will ask.
Here are the five essentials (just copy and customize):
What should I wear?
"We're going for [your dress code]—think [helpful description]. [One specific helpful tip like 'the ceremony is outdoors, so wedges over stilettos!']"
Are kids welcome?
Either: "Absolutely! We love seeing the whole family celebrate together."
Or: "We've decided to keep this an adults-only celebration. We hope this gives parents a night to relax and enjoy!"
What about gifts?
"Your presence is the best present! If you'd like to give something, we're registered at [links] or you can contribute to our [honeymoon/house] fund."
Can we take photos during the ceremony?
"We have a photographer capturing everything, so we're kindly asking for an unplugged ceremony. After that, snap away!"
What if it rains?
"We have a beautiful indoor backup plan ready to go. Rain or shine, we're getting married!"
Five questions, five short answers. Done in 15 minutes.
Step 6: Add Your Travel & Accommodations Info (10 minutes)

This one's super straightforward:
Getting Here:
"The nearest airport is [name], about [X minutes] from the venue."
Where to Stay:
List 2-3 hotel options with any group booking codes or deadlines.
Getting Around:
"Rideshare apps work great in the area. There's [limited/ample] parking at the venue."
Optional:
Add a quick "Things to Do" section with 2-3 local favorites if you're expecting out-of-town guests.
Step 7: Set Up Your RSVP (10 minutes)
Most templates have an RSVP form already built in. You just need to customize the fields and set your deadline.
Must-have fields:
- Guest name(s)
- Number of guests attending
- Meal choice (if you're doing a plated dinner)
- Dietary restrictions
- Song request (optional but fun)
Set your RSVP deadline and add a quick intro:
"Please RSVP by [date]. We can't wait to celebrate with you!"
Make sure you know where RSVPs are going (email notifications, a spreadsheet, etc.) and test it once before you publish.
Step 8: Add Photos and Do a Final Check (15 minutes)
Go through each page and drop in photos where they make sense:
- Home page: one great hero image
- Our Story: 2-3 photos throughout
- Wedding Party: headshots if you have them
- Venue: a photo of the venue if available
Then do a quick final check:
- Click through every page on both desktop and mobile
- Check all your links (registry, hotels, venue addresses)
- Make sure dates and times are correct
- Read through for typos (we all have them)
Step 9: Publish and Share (5 minutes)
Hit publish. Copy your website link. Send it to a few friends or family members to test.
Then share it:
- Include it in your save-the-dates or invitations
- Post it on your Instagram story
- Send it in your wedding planning group chat
Done. Website launched. You still have time to watch a movie.
The Secret: Start With the Right Foundation
Here's why this one-evening plan actually works: you're not building from scratch. You're customizing something that's already 80% done.
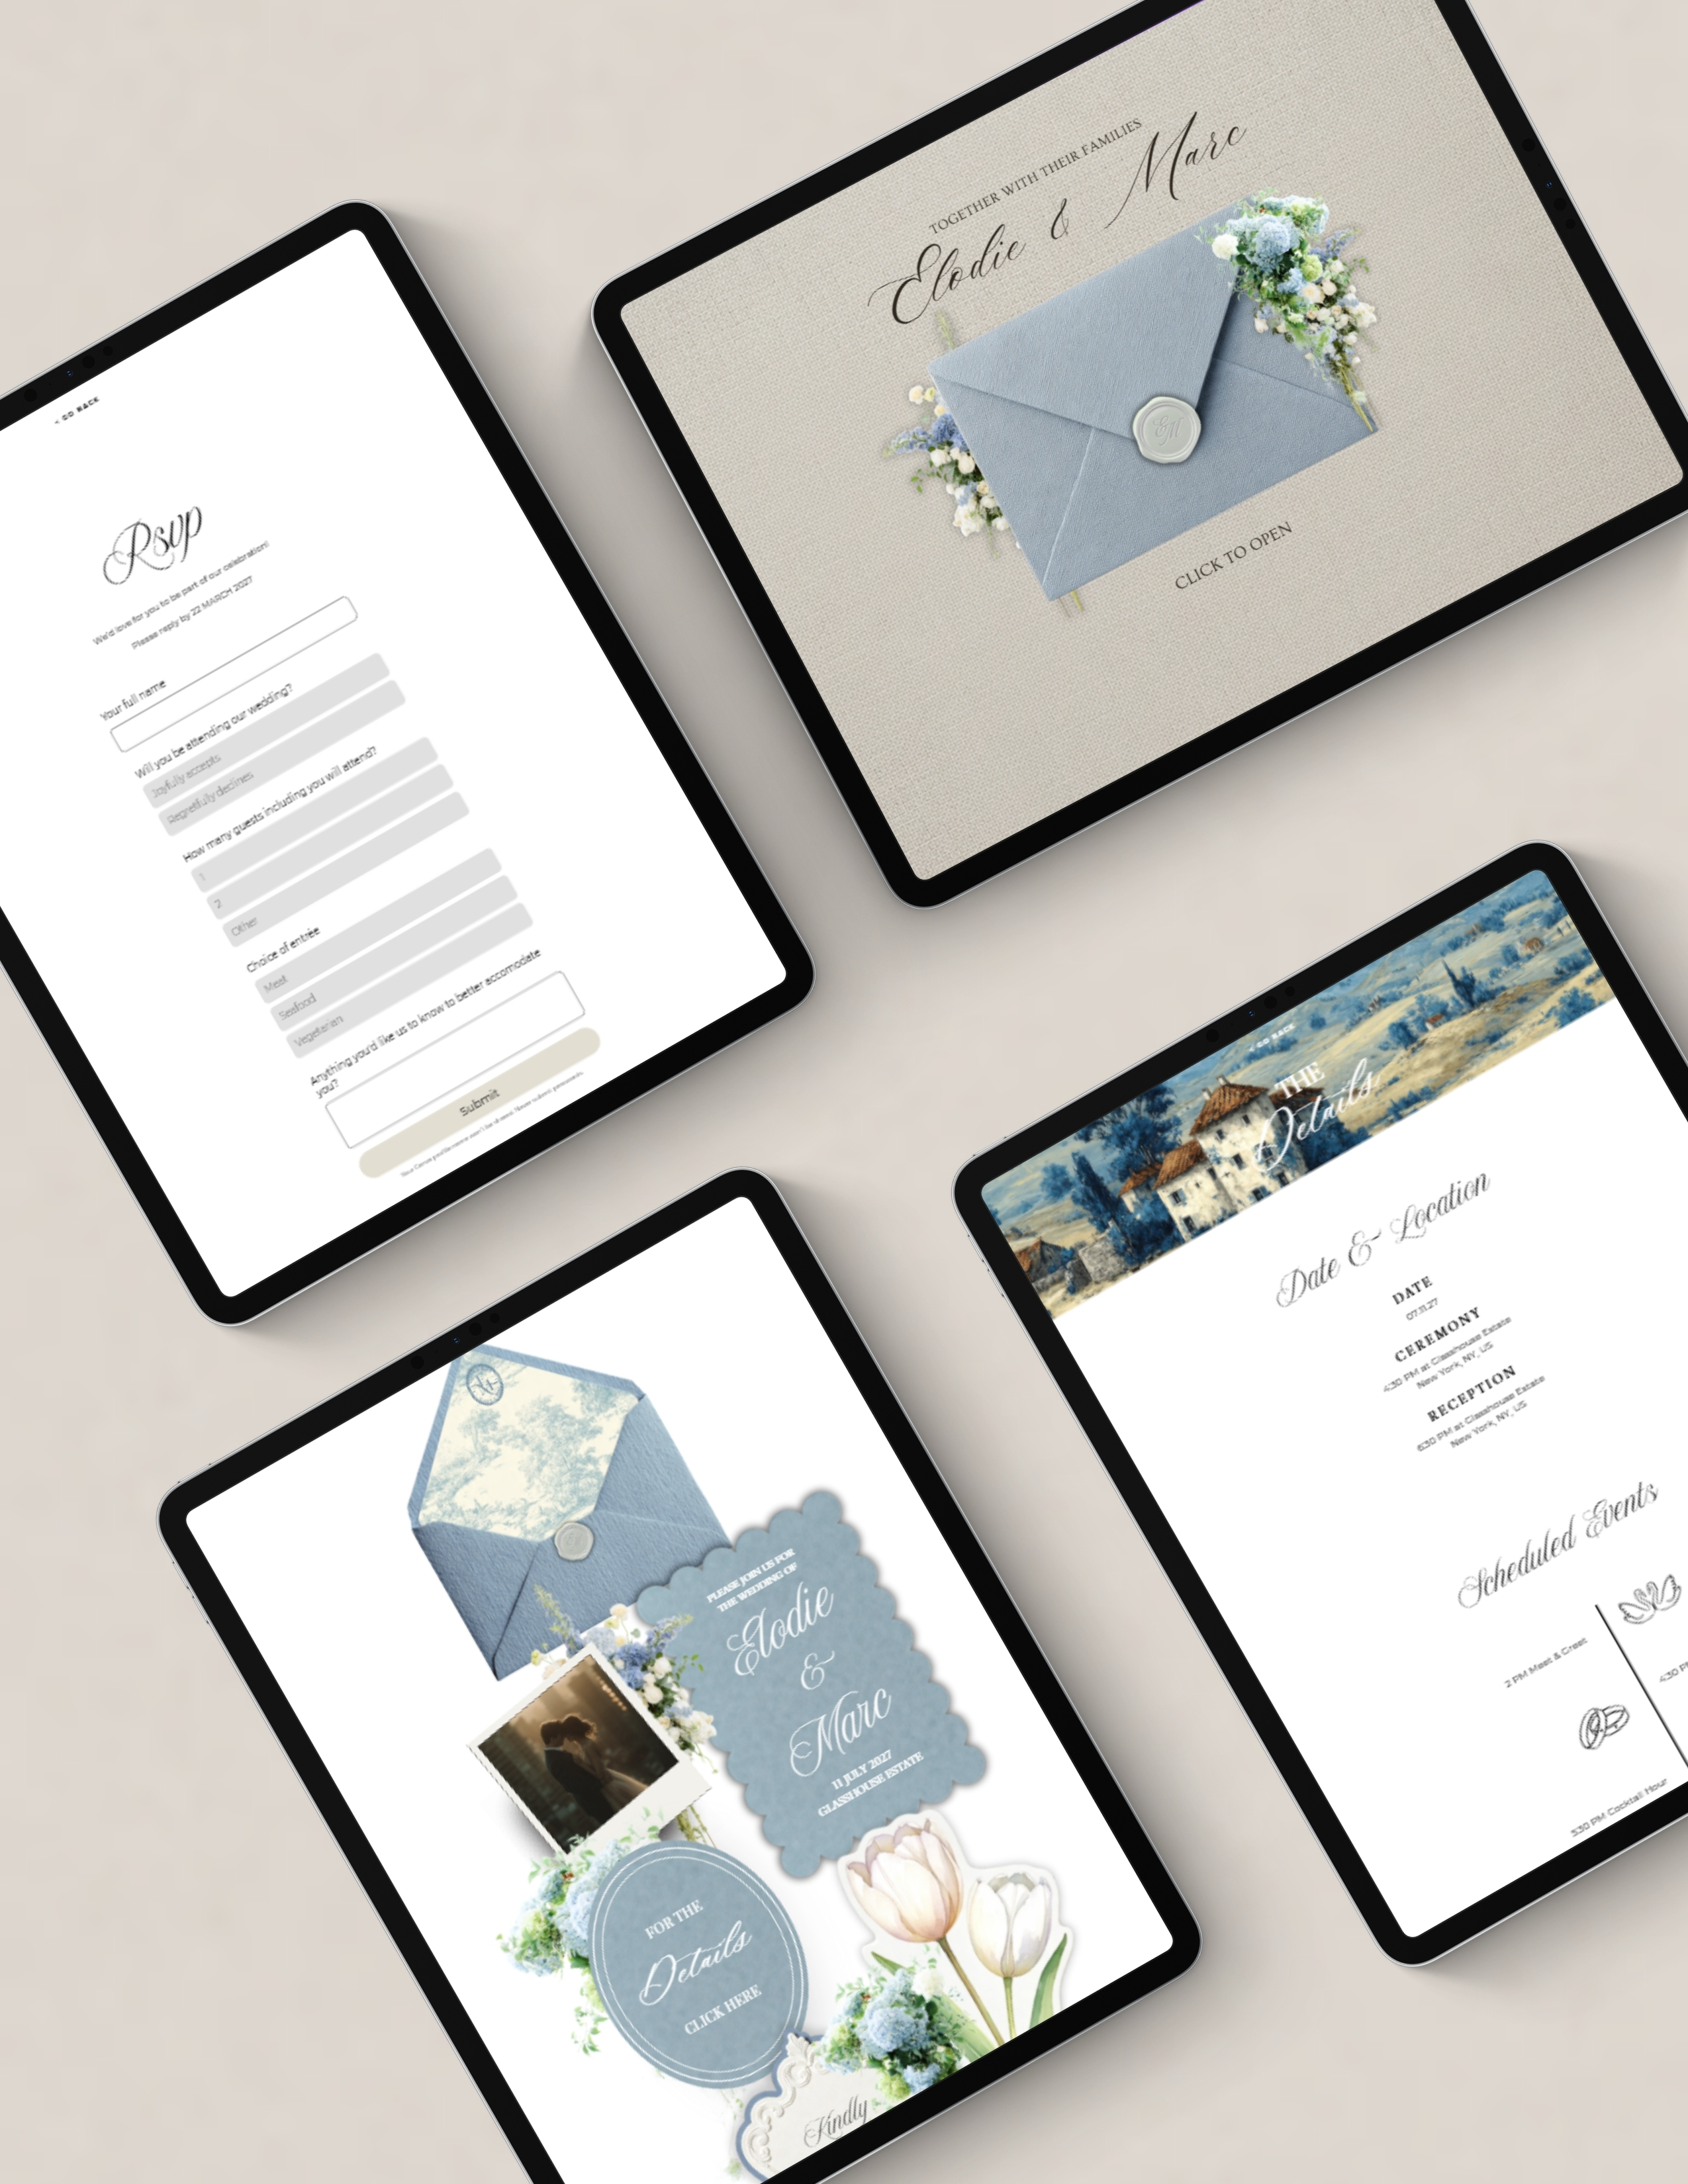
Our Canva wedding website templates give you every page pre-designed and ready to customize. The layouts are already beautiful, the structure is already there, and sample copy is already written. You're just swapping in your details, adding your photos, and making it yours.
What comes with every template:
✓ All essential pages pre-built and formatted
✓ Sample wording for every section (you can customize or use as-is)
✓ Beautiful, modern designs that work on any device
✓ Easy drag-and-drop editing in Canva—no coding, no complexity
✓ Multiple aesthetic styles to match your wedding vibe
Most couples finish in under an hour. Some in 30 minutes if they come prepared.
Ready to get your wedding website done tonight? Check out our templates and pick the one that feels like you.