You're engaged, you're excited, and at some point between choosing a venue and tasting cake, it hits you: there are a *lot* of things you need to write, design, and send to your guests before the big day.
Save the dates. Invitations. RSVP cards. A wedding website. Welcome signs. Menus. Seating charts. Thank you cards. And probably a dozen things you haven't thought of yet.
Most couples piece this together one item at a time — buying a save the date template from one shop, an invitation from another, writing their website copy from scratch, panic-Googling "what does a bar menu sign even say?" the week before the wedding, and ending up with a mismatched collection of stationery that took way more time and money than it should have.
It doesn't have to be that way.
This post is your complete wedding stationery checklist — every piece you'll need, when you'll need it, what to write on it, and how to make it all feel cohesive without hiring a designer or spending your weekends in Canva.
Phase 1: Save the Dates (6–8 Months Before)
Save the dates are your first impression. They tell your guests two things: we're getting married, and here's when. That's it. Keep them simple.
What you need:
A digital save the date is the fastest, most affordable option — and it's what most couples in their 20s and 30s are sending now. Think of it as a mini website: a landing page with your names, the date, the city, and maybe a photo. Some couples add an RSVP form at this stage to start collecting mailing addresses for physical invitations later.
If you also want a printable card (for parents to stick on the fridge, or for guests who appreciate something tangible), you'll want a matching physical save the date card with a QR code on the back that links to your digital version.
What to write on it:
Keep it short. Your names, the date, the city or general location, and a line like "Invitation to follow" or "Details coming soon." If you're including a link to a digital version, a simple "Visit our wedding website for details" works perfectly.
**Pro tip:** If you're collecting mailing addresses through your digital save the date, you won't need to track them down later through group chats and awkward DMs. One less thing on the list.
→ *Want ready-to-use save the date wording with multiple variations? The [Easy Aisle Studio All-Access Wedding Suite] includes a complete copy kit with fill-in-the-blank text for every phase — including 4 save the date variations you can customize in minutes.*
Phase 2: Your Wedding Website (5–7 Months Before)
Your wedding website is the single most important piece of stationery you'll create. It's where every other piece of stationery points to. Your save the date links to it. Your invitation references it. Your RSVP card has a QR code to it. Guests will visit it multiple times between now and your wedding day.
The pages you need:
- Welcome / Home Page — Your names, your date, a photo, and a warm sentence or two setting the tone
- Our Story — How you met, how you got engaged, whatever you want to share (this page is optional but guests love it)
- Event Details — Ceremony and reception venue names, addresses, times, and anything guests need to know about parking or getting there
- Travel & Accommodations — Hotel blocks, airport info, transportation options, and local recommendations for out-of-town guests
- Registry — Links to your registries, and if you're accepting cash gifts, a tactful way to say so
- FAQ — The page that saves you from answering the same question 47 times (dress code, kids policy, plus ones, parking, phones during the ceremony)
- RSVP — An online form where guests confirm attendance, select their meal, note dietary restrictions, and anything else you need to know
- Wedding Party — A quick intro to your bridesmaids, groomsmen, and anyone else standing up with you
If you've been following along with this blog series, you already know that the [page-by-page guide] covers exactly what to write on each of these pages with copy you can steal. The [FAQ post] goes deep on the most common guest questions, and the [registry post] handles the cash gift conversation.
What most couples don't realize: Your wedding website isn't a set-and-forget page. You'll update it as your planning progresses — adding your registry once you've set it up, turning on RSVPs when you send invitations, and adding day-of details like a timeline and parking instructions as the date gets closer.
→ *Easy Aisle Studio's wedding website templates come with every page pre-designed. Pair one with the copy kit and you can go from blank template to published website in a single evening. Here's the [1-evening setup plan] if you want the step-by-step.*
Phase 3: Invitations & RSVP Cards (2–3 Months Before)
Even in 2026, most couples send some form of physical invitation — even if the RSVP itself is online. There's something about holding a card in your hands that makes a wedding feel real.
What you need:
- An invitation card — Names, date, time, venue, and a reference to your wedding website for full details
- An RSVP card — This is where a QR code changes everything. Instead of printing a mail-back RSVP with a stamped return envelope (which costs more and creates more work for you), print a small card with a QR code that sends guests directly to your website's RSVP page. They scan, they tap, they're done.
What to write on your invitation:
The classic structure still works: who's hosting (or skip this line entirely — most modern couples do), the couple's names, "request the pleasure of your company" or something less formal, the date, the time, the venue, and "RSVP at [your website URL]."
If your wedding has a dress code, your invitation is a good place to note it — but your website's FAQ page is where you'll spell out exactly what it means. (Nobody knows what "festive attire" means without context.)
What to write on your RSVP card:
If you're using a QR code that sends guests to your website's RSVP form, the card itself can be minimal: "RSVP by [date]" with the QR code and your website URL underneath. For the online RSVP form itself, the [RSVP post](https://easyaislestudio.com/blog/how-to-collect-rsvps-online-without-annoying-your-guests-or-yourself) covers everything — form setup, meal choice wording, song request fields, and follow-up messages for guests who don't respond.
→ *The All-Access Wedding Suite includes a printable invitation card and RSVP card template with a QR code placeholder already built in. Scan it and it links directly to your wedding website's RSVP page.*
Phase 4: Guest Communication (Ongoing)
Here's the phase nobody warns you about. Between sending your invitations and your wedding day, you will spend an absurd amount of time chasing RSVPs and answering the same guest questions over and over.
What you need:
- A "we just launched our wedding website" message to share when your site goes live
- Invitation follow-up messages when you send the physical invitations
- RSVP reminders — gentle at first, then increasingly direct — for guests who haven't responded
- A final call message for the week before your RSVP deadline
- Post-deadline follow-ups for the stragglers
- Thank you messages for guests who RSVP early
You'll need versions for text, email, WhatsApp, and group chats. And you'll need different tones: the message you send your college roommate is not the message you send your partner's great-aunt.
What most couples do: Write each of these from scratch, every time, which takes hours over the course of planning.
What you should do: Have a set of pre-written scripts you can copy, paste, and personalize in 30 seconds.
→ *The All-Access Wedding Suite includes 200+ copy-paste guest reminder scripts organized by stage (first share, invitation follow-up, gentle nudge, final call, after deadline, thank you) and by channel (text, email, WhatsApp, social media). This is the part that saves couples the most time — and it's the part nobody thinks to prepare for.*
Phase 5: Day-Of Stationery (1–2 Weeks Before)
This is everything your guests will see and interact with at your venue. It's the stuff you tend to forget about until the last minute — and then you're frantically designing a bar menu sign at midnight the week before your wedding.
What you need:
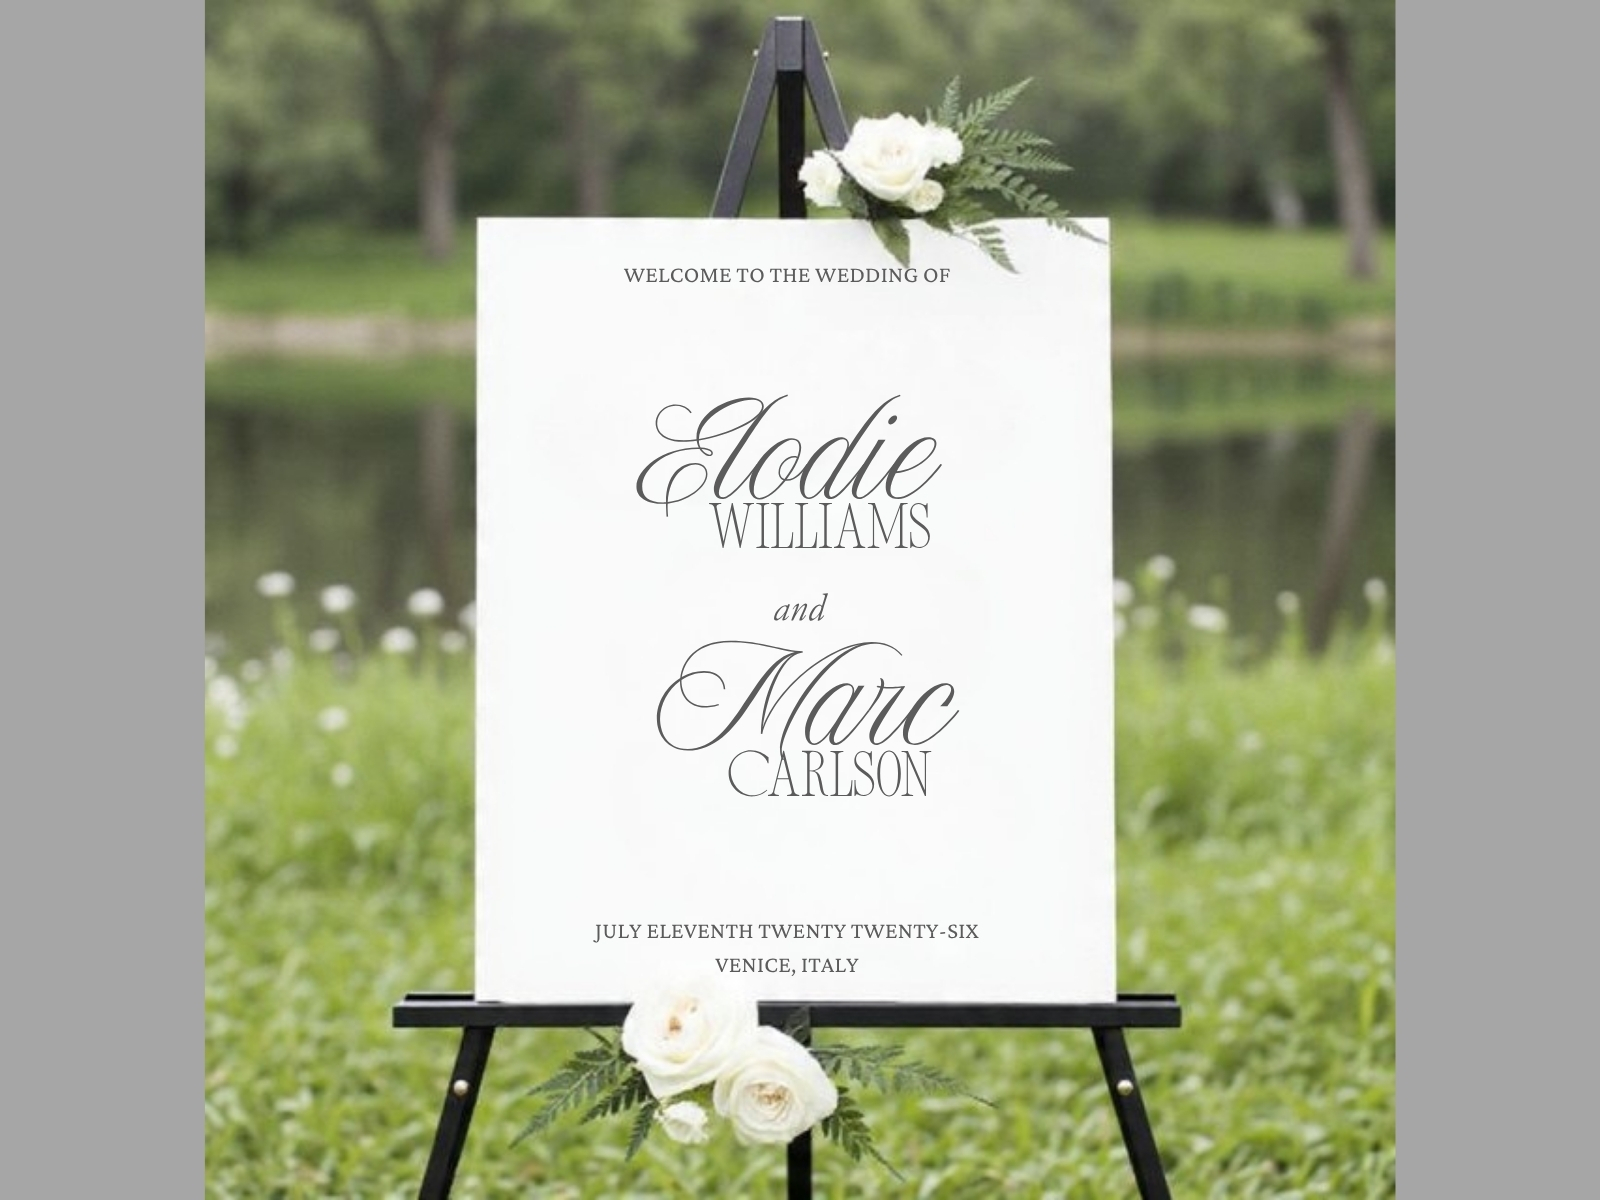
- Welcome sign — Usually near the entrance. Your names, the date, and a warm greeting.
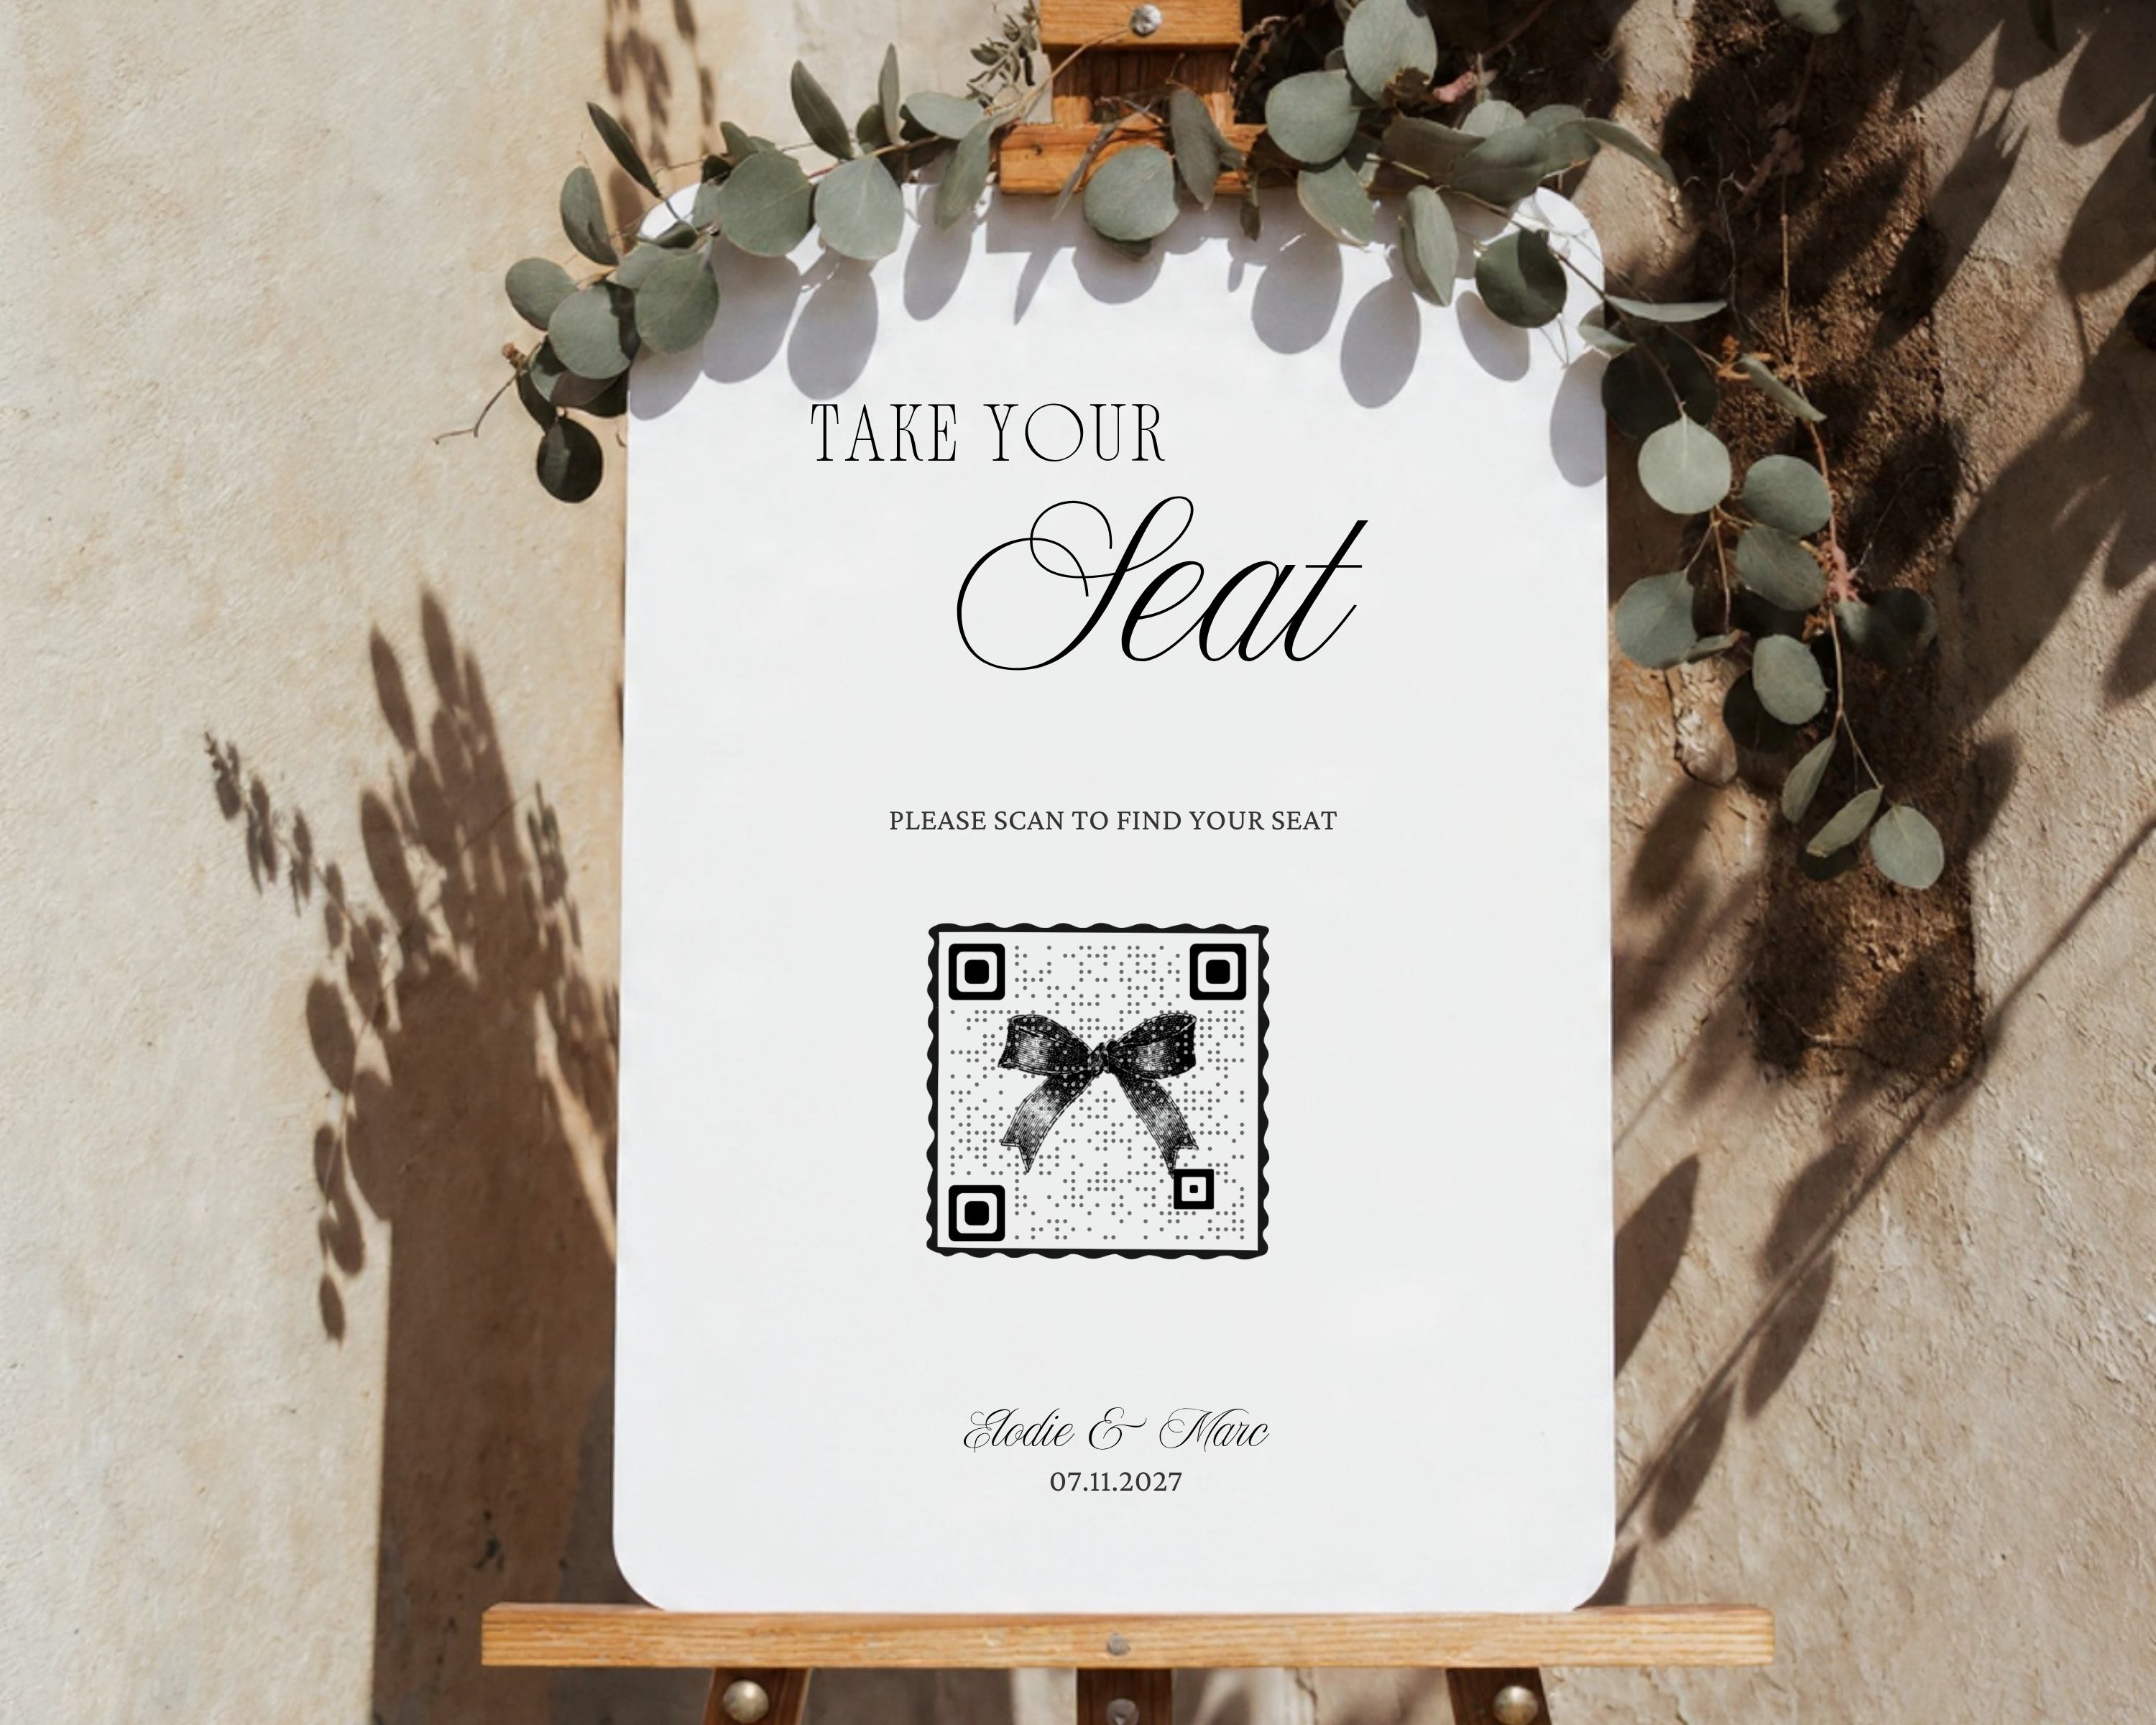
- Seating chart or escort cards — How guests find their table. A digital option works great here: a QR code sign where guests scan and see their table assignment on their phone.
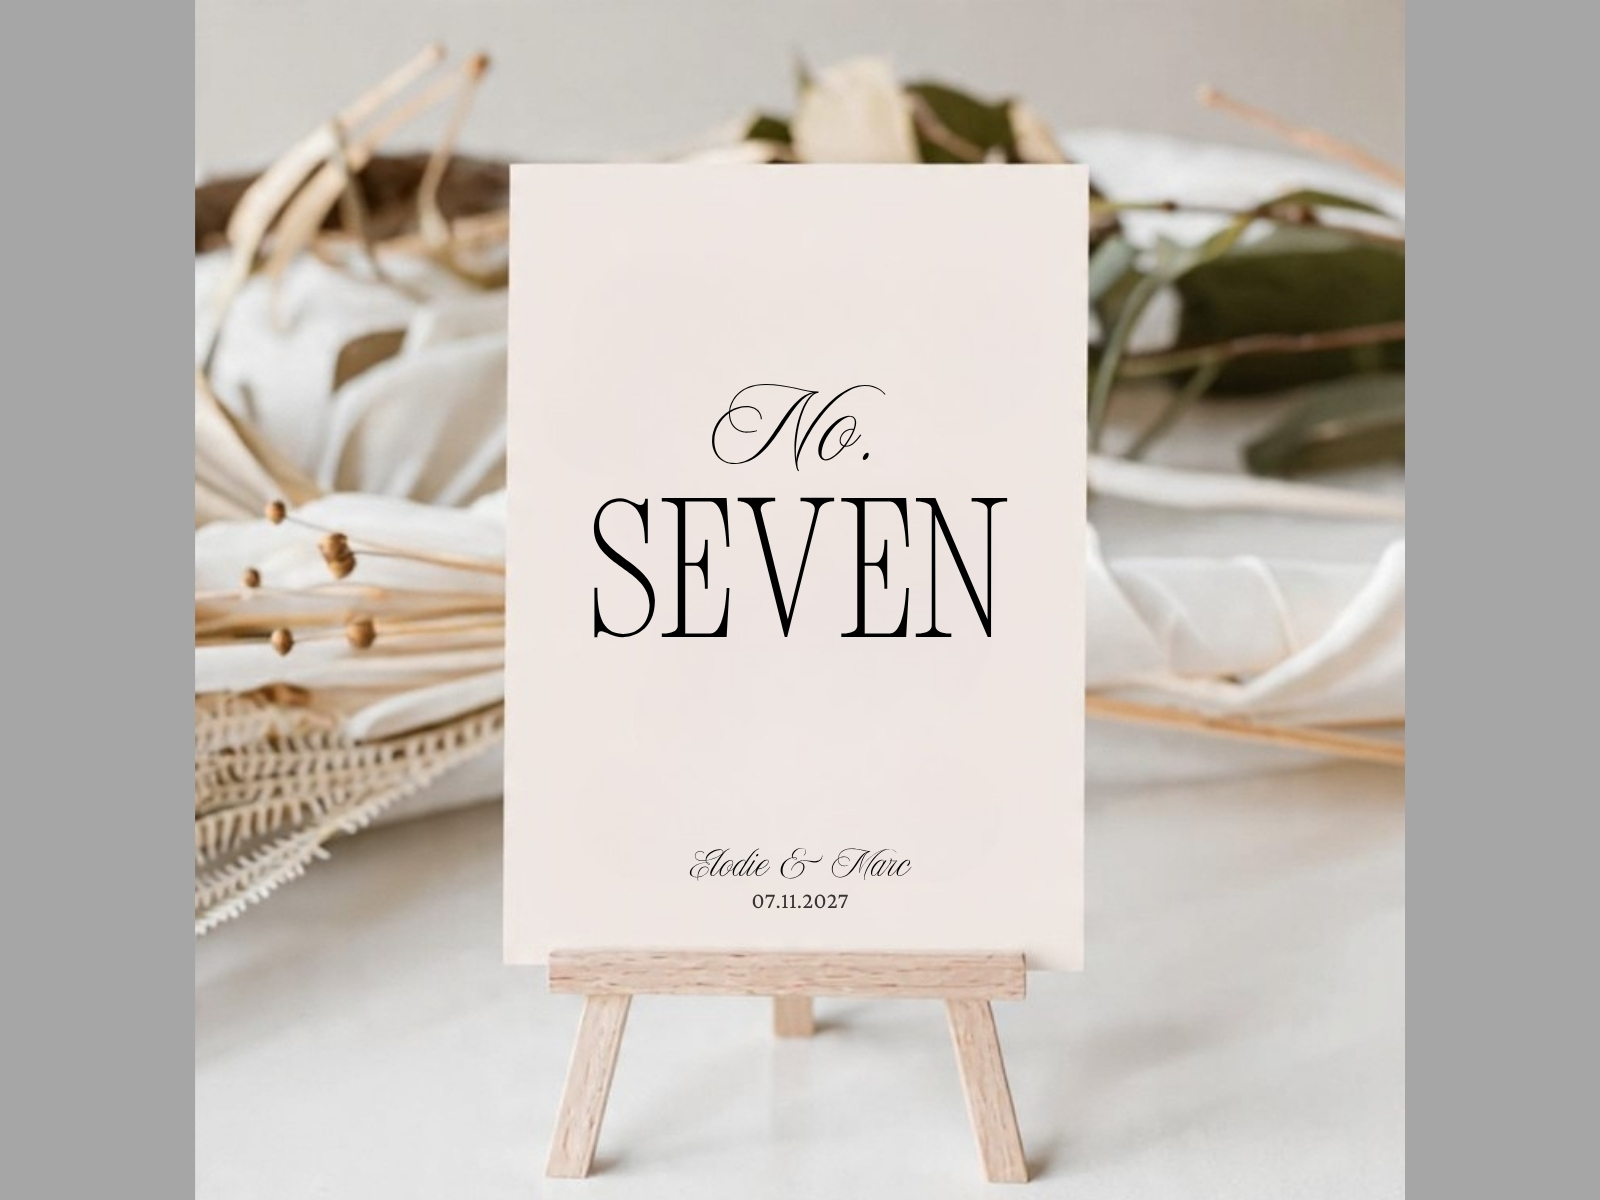
- Table numbers — Simple and functional. Match your aesthetic but don't overthink it.
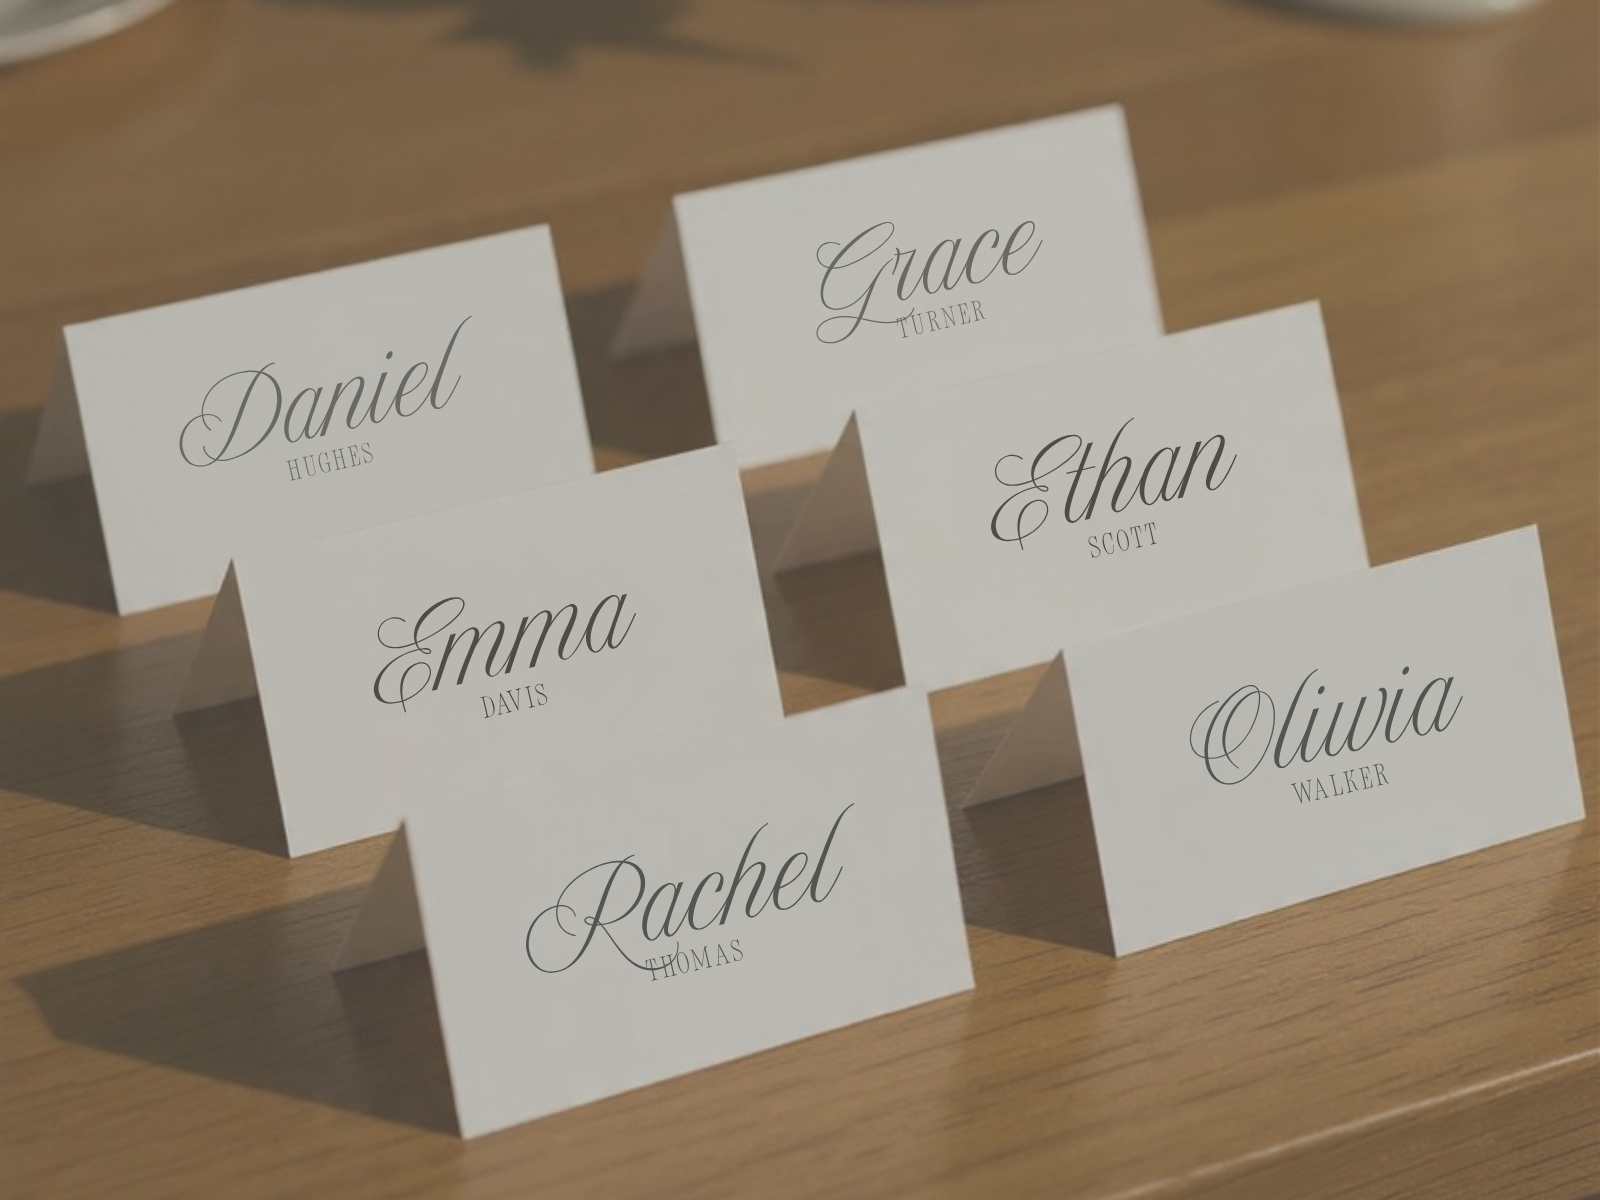
- Place cards — Individual name cards at each seat, if you're doing assigned seating within tables.
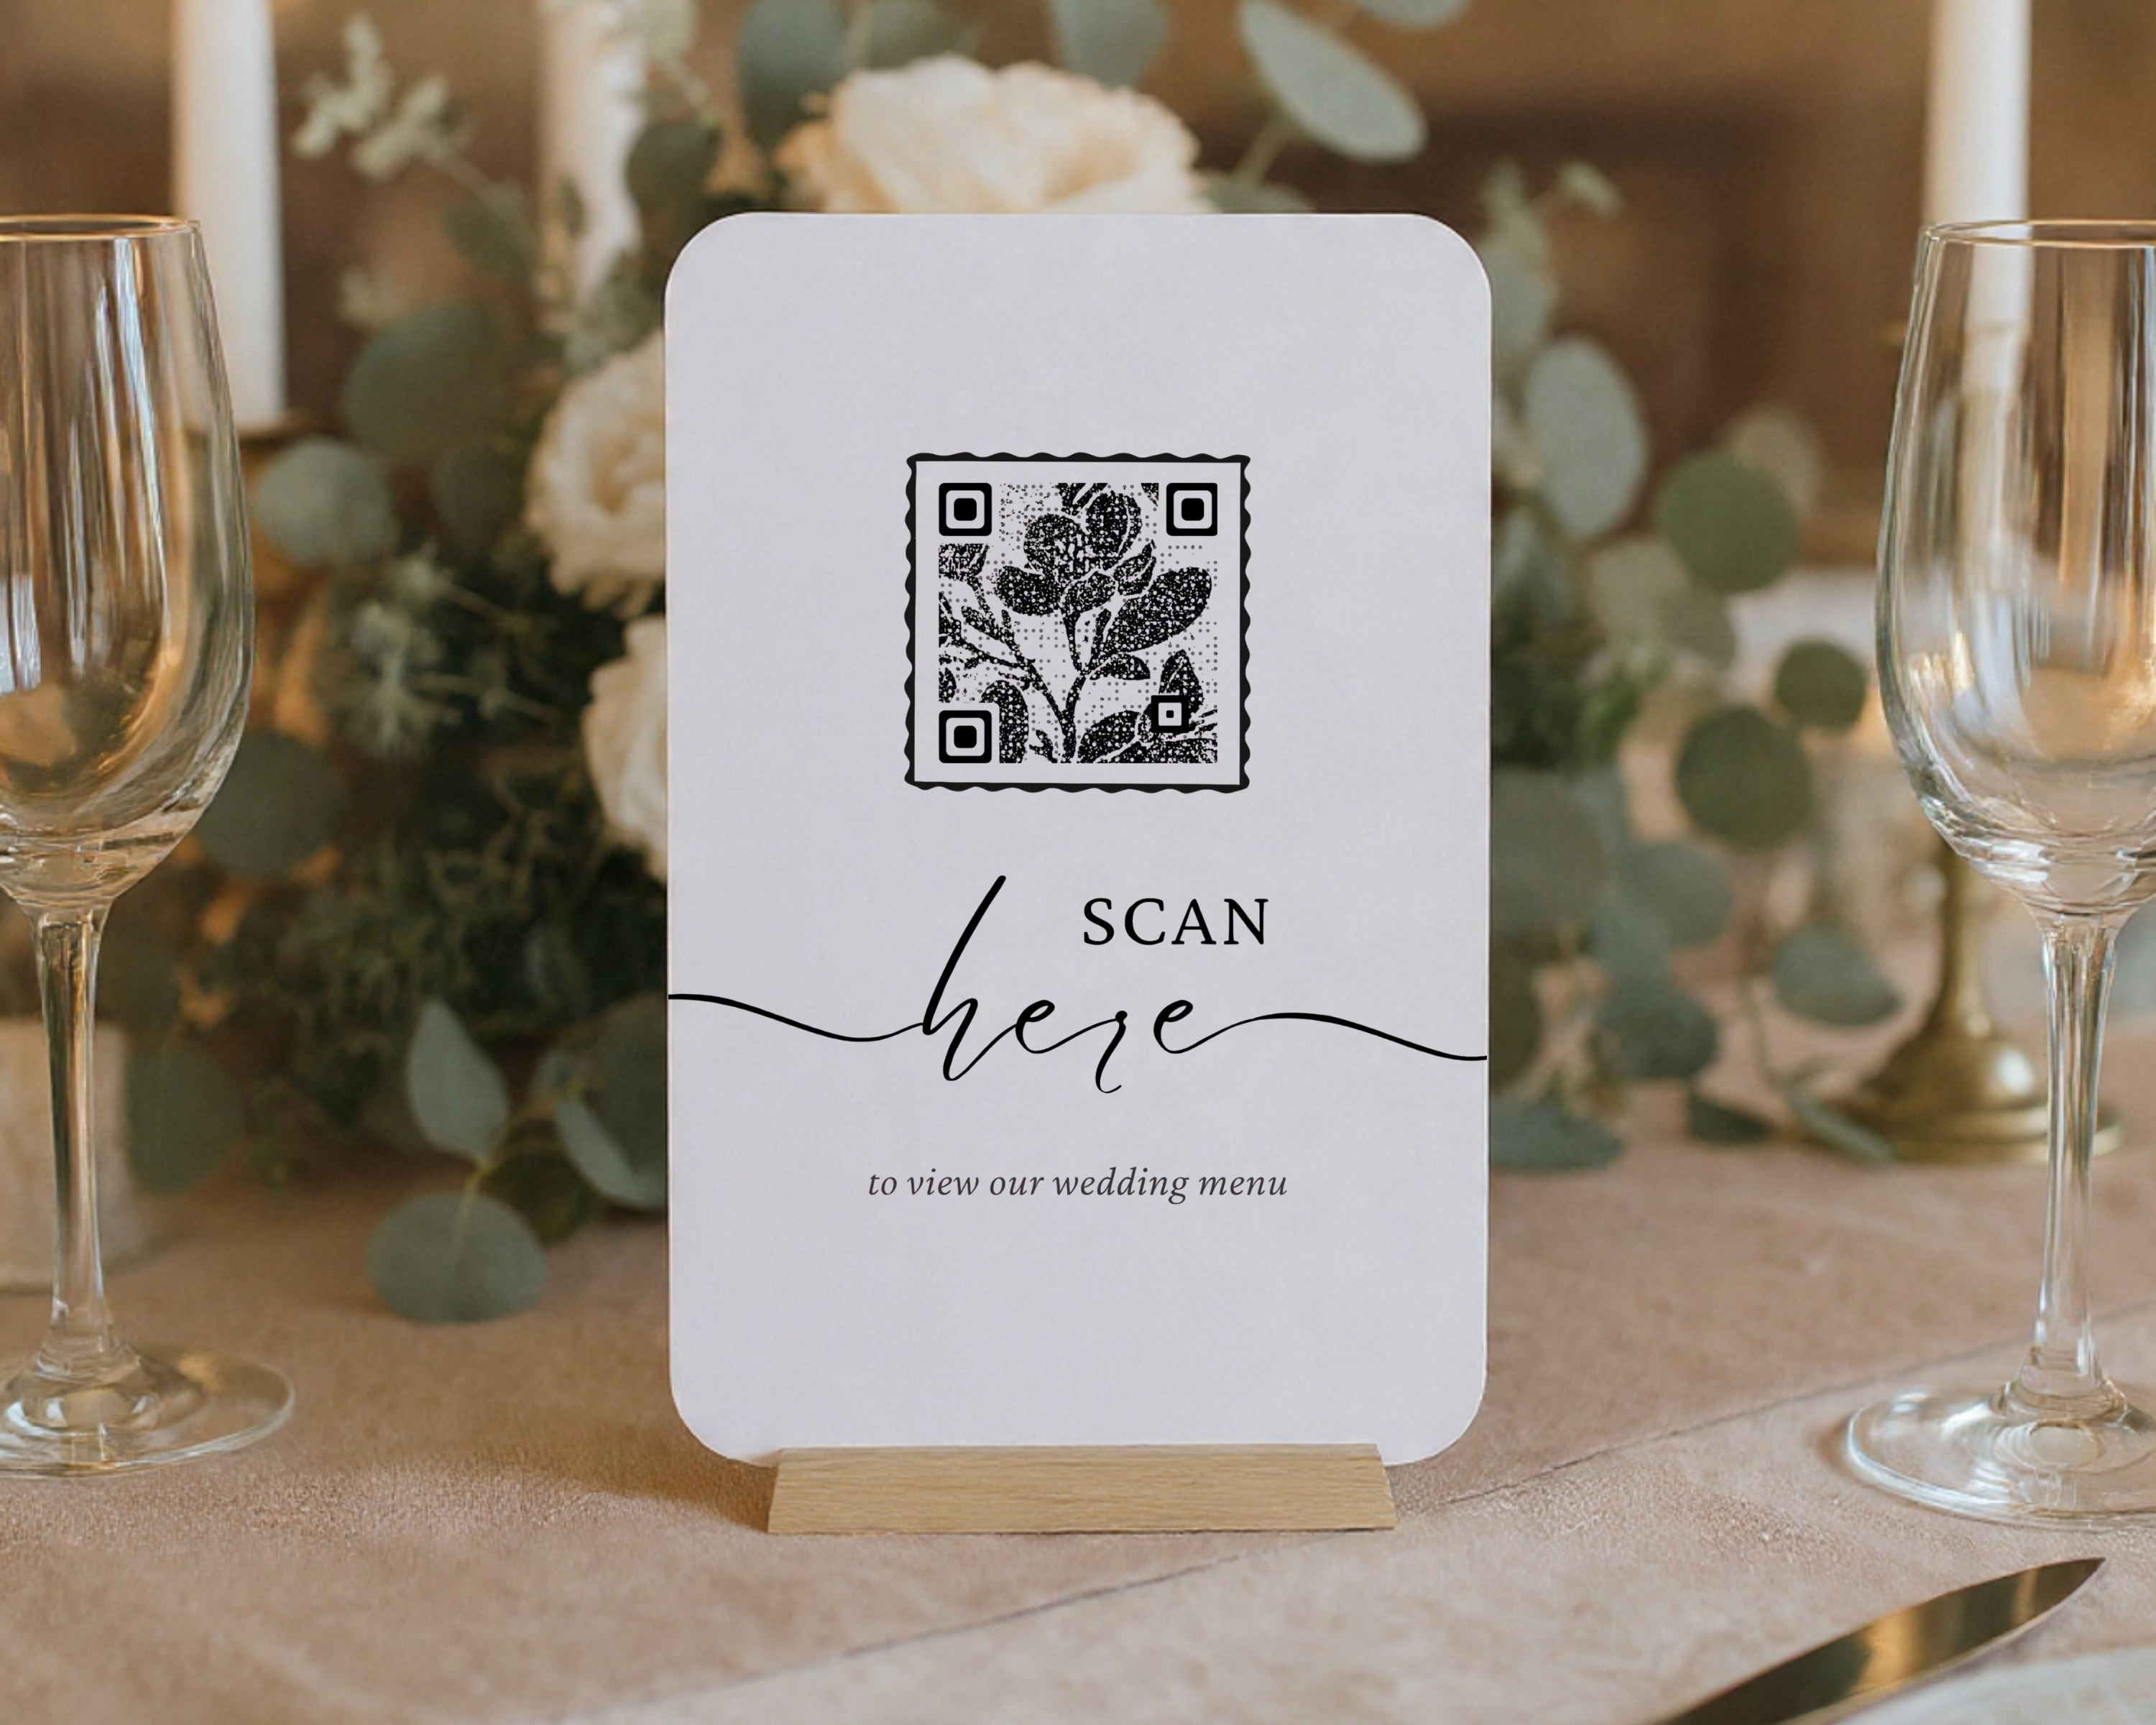
- Menu cards — What's for dinner. Include options for dietary restrictions if you're offering choices. One way to significantly reduce paper waste is to simply put a scannable QR code card on every table, that leads your guests to the website that shows the menu.
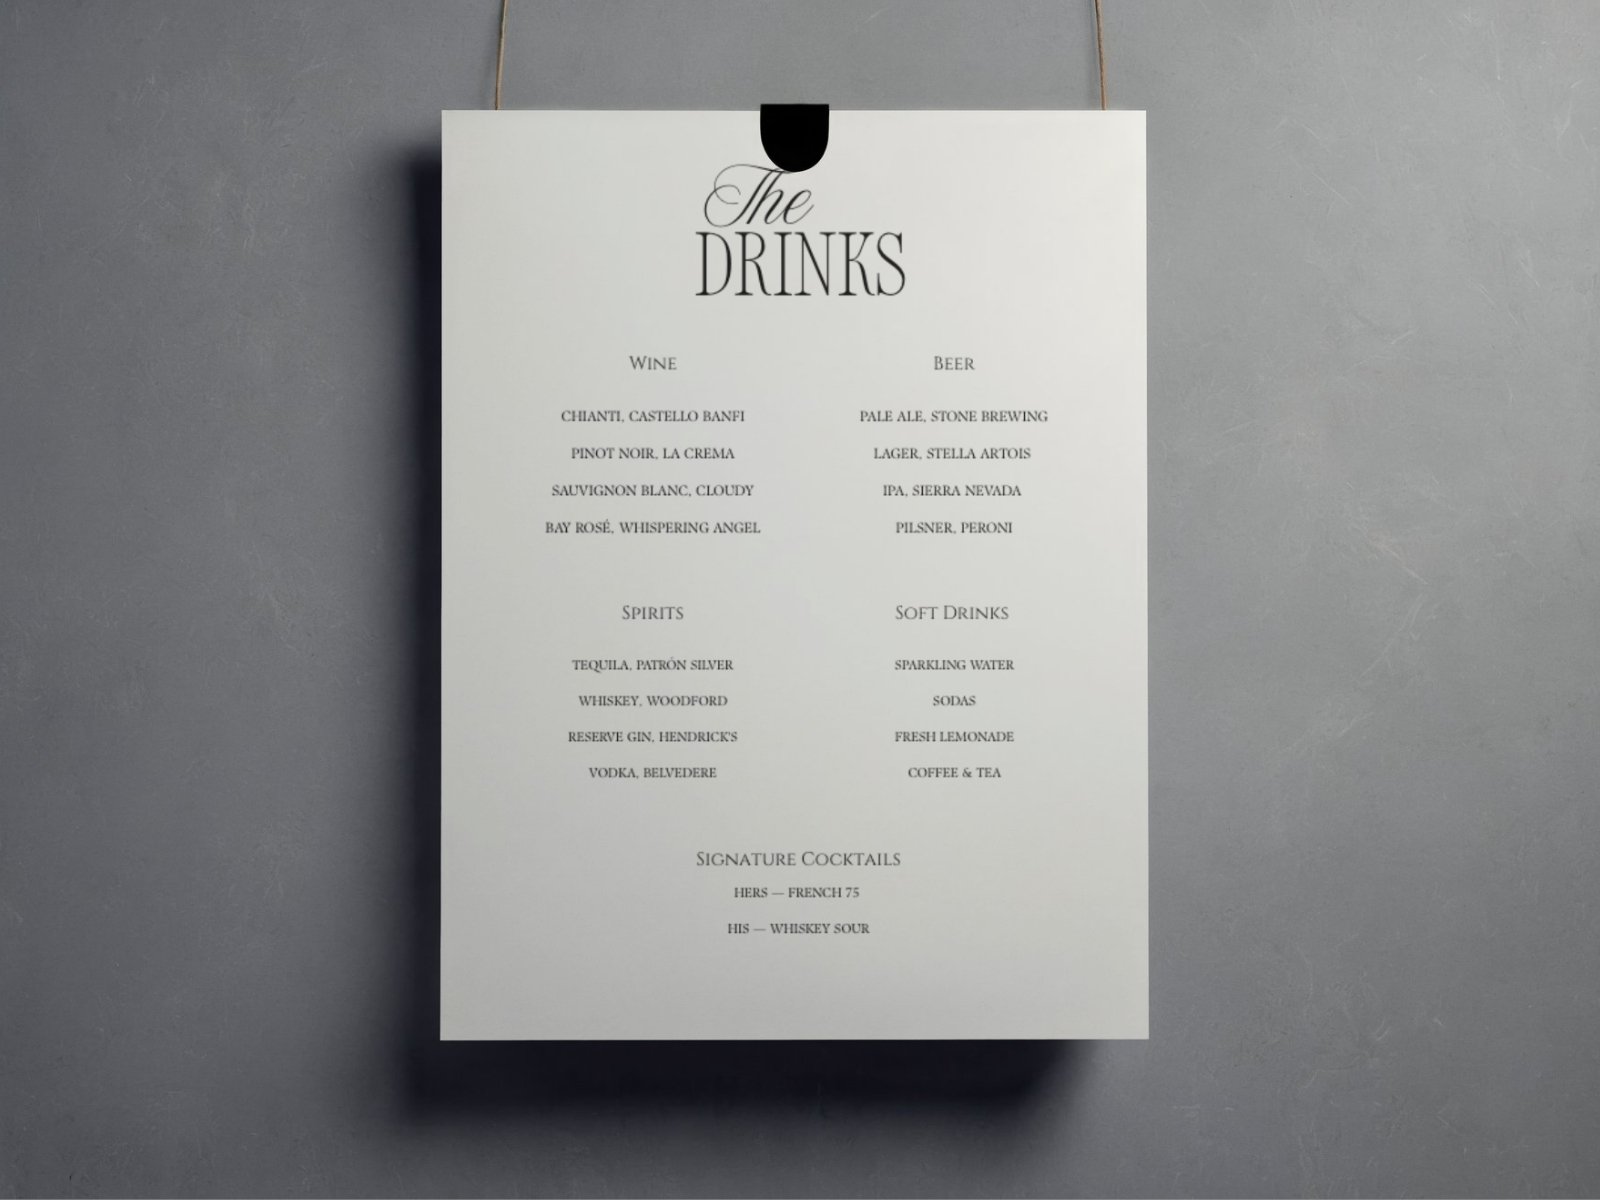
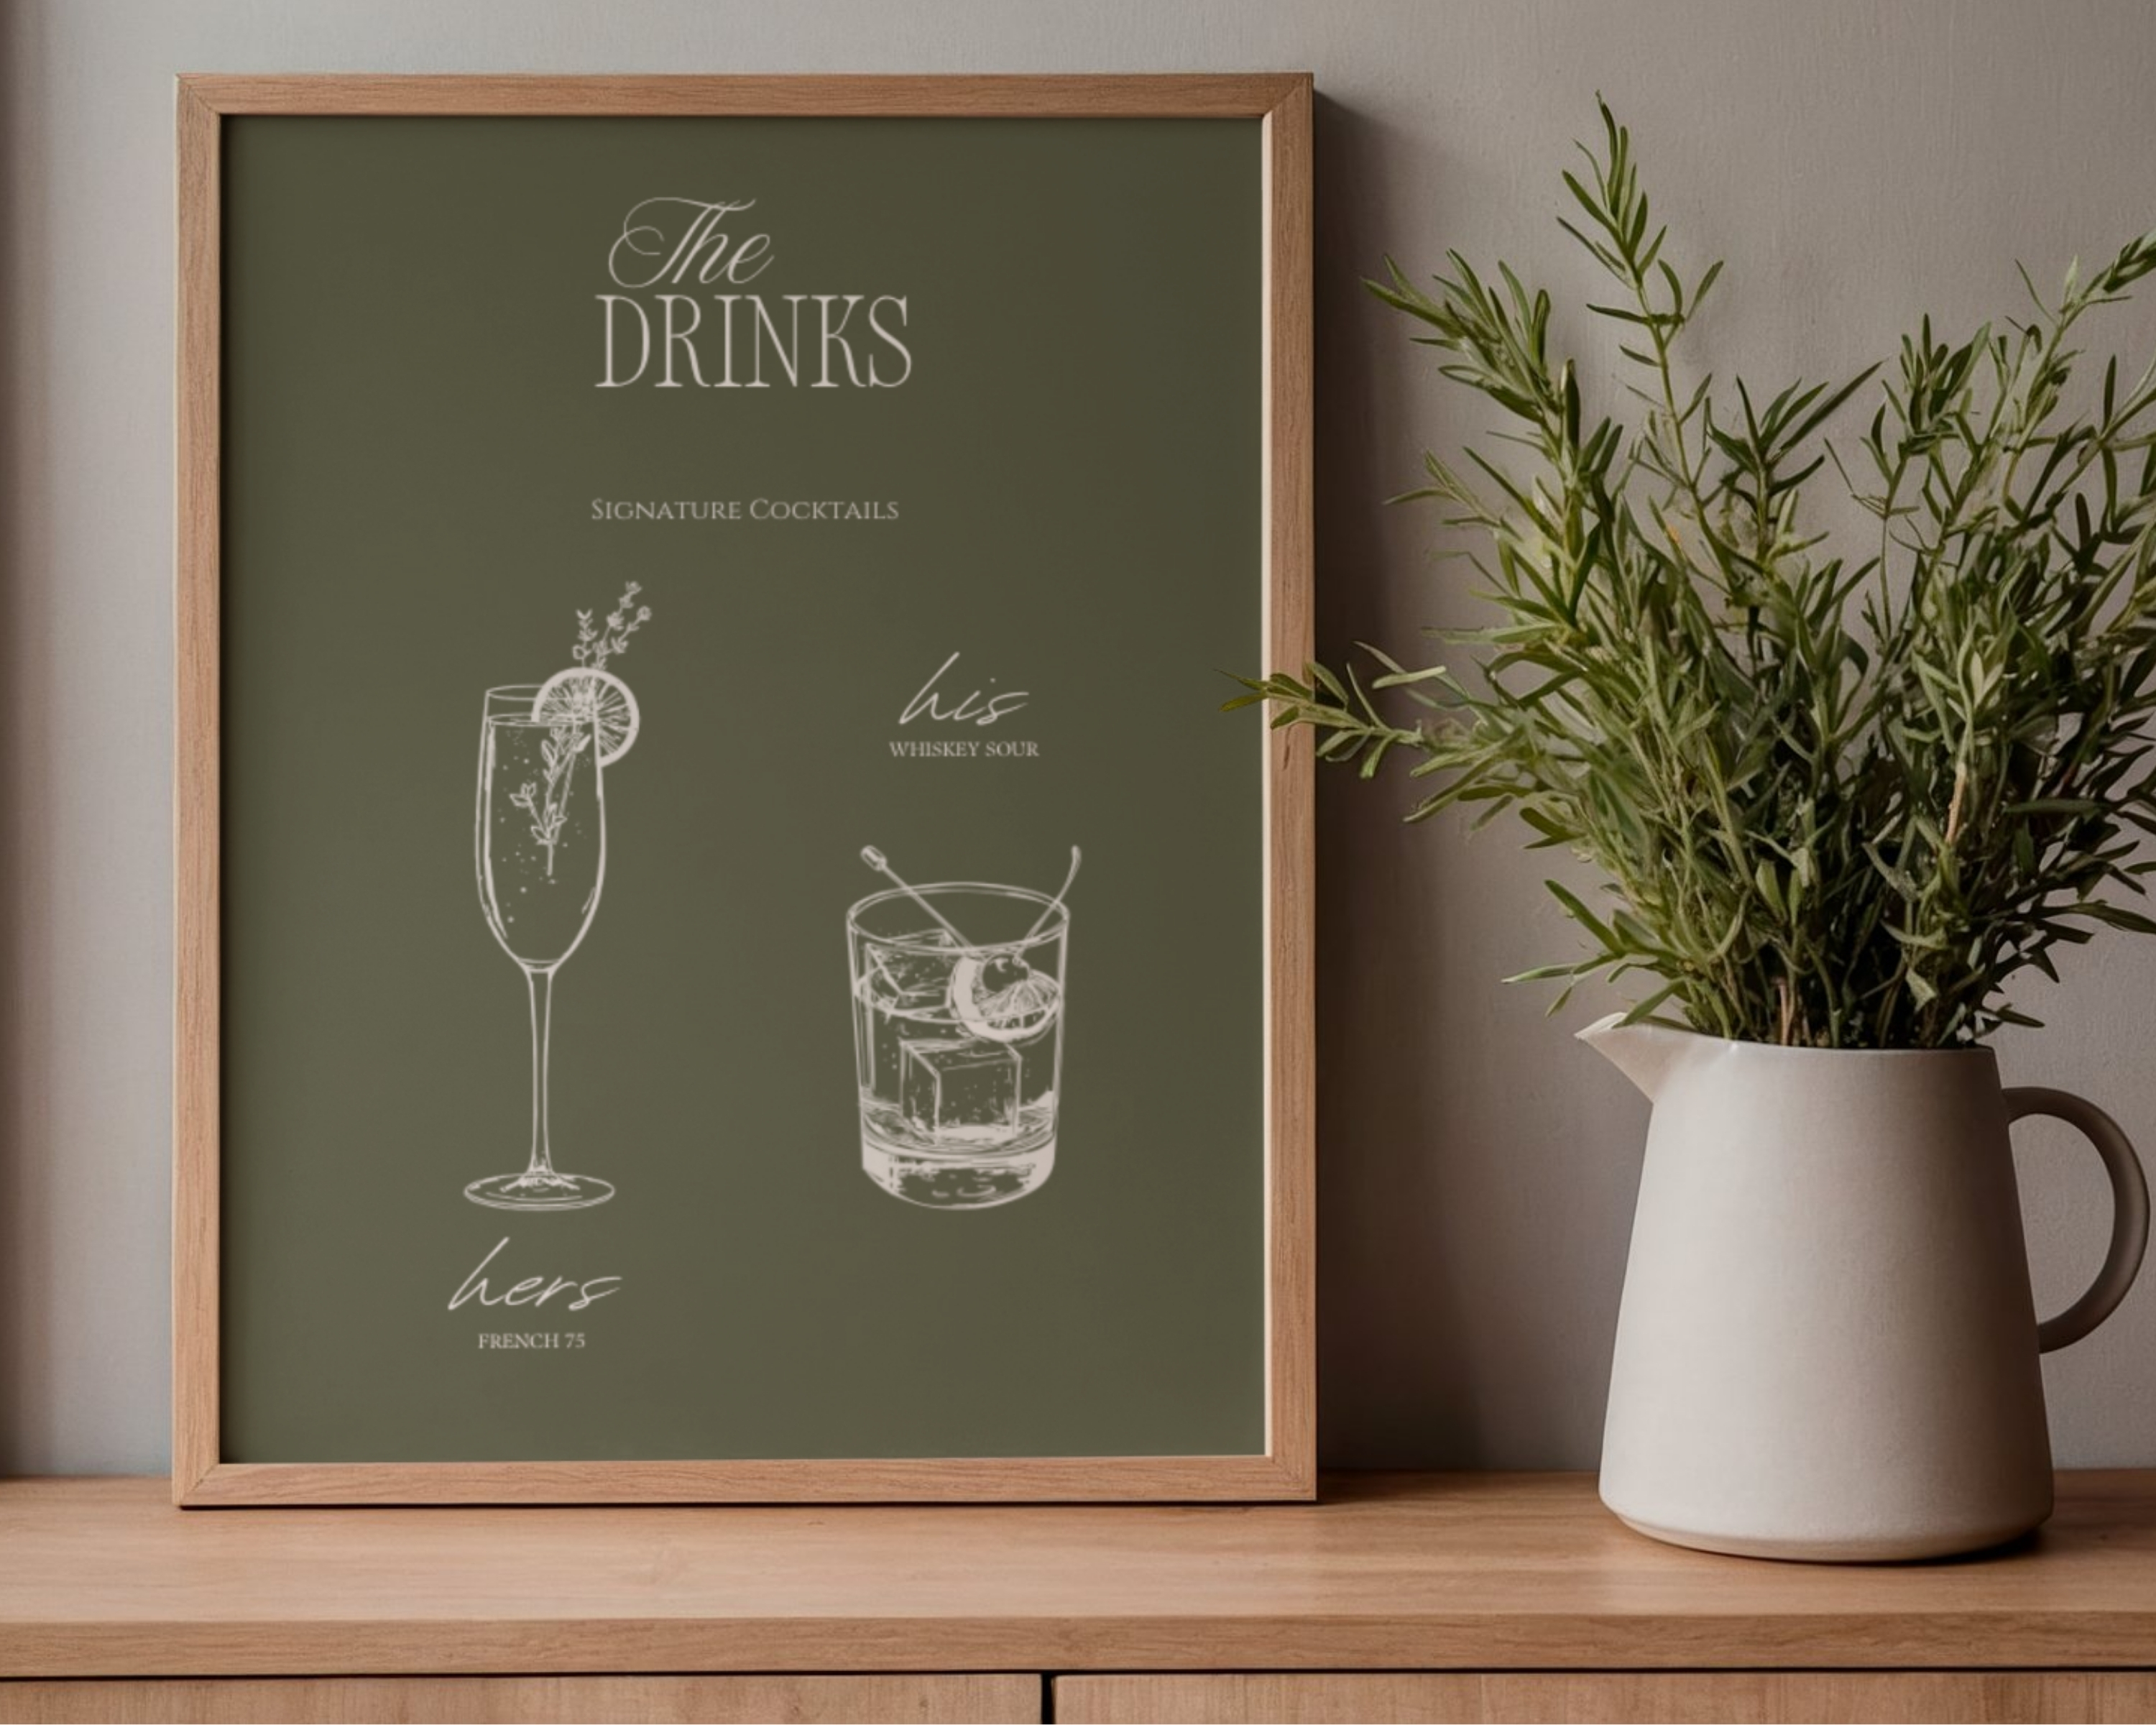
- Bar menu sign — Your cocktail selections, signature drinks, wine and beer options. This is a fun one to design.
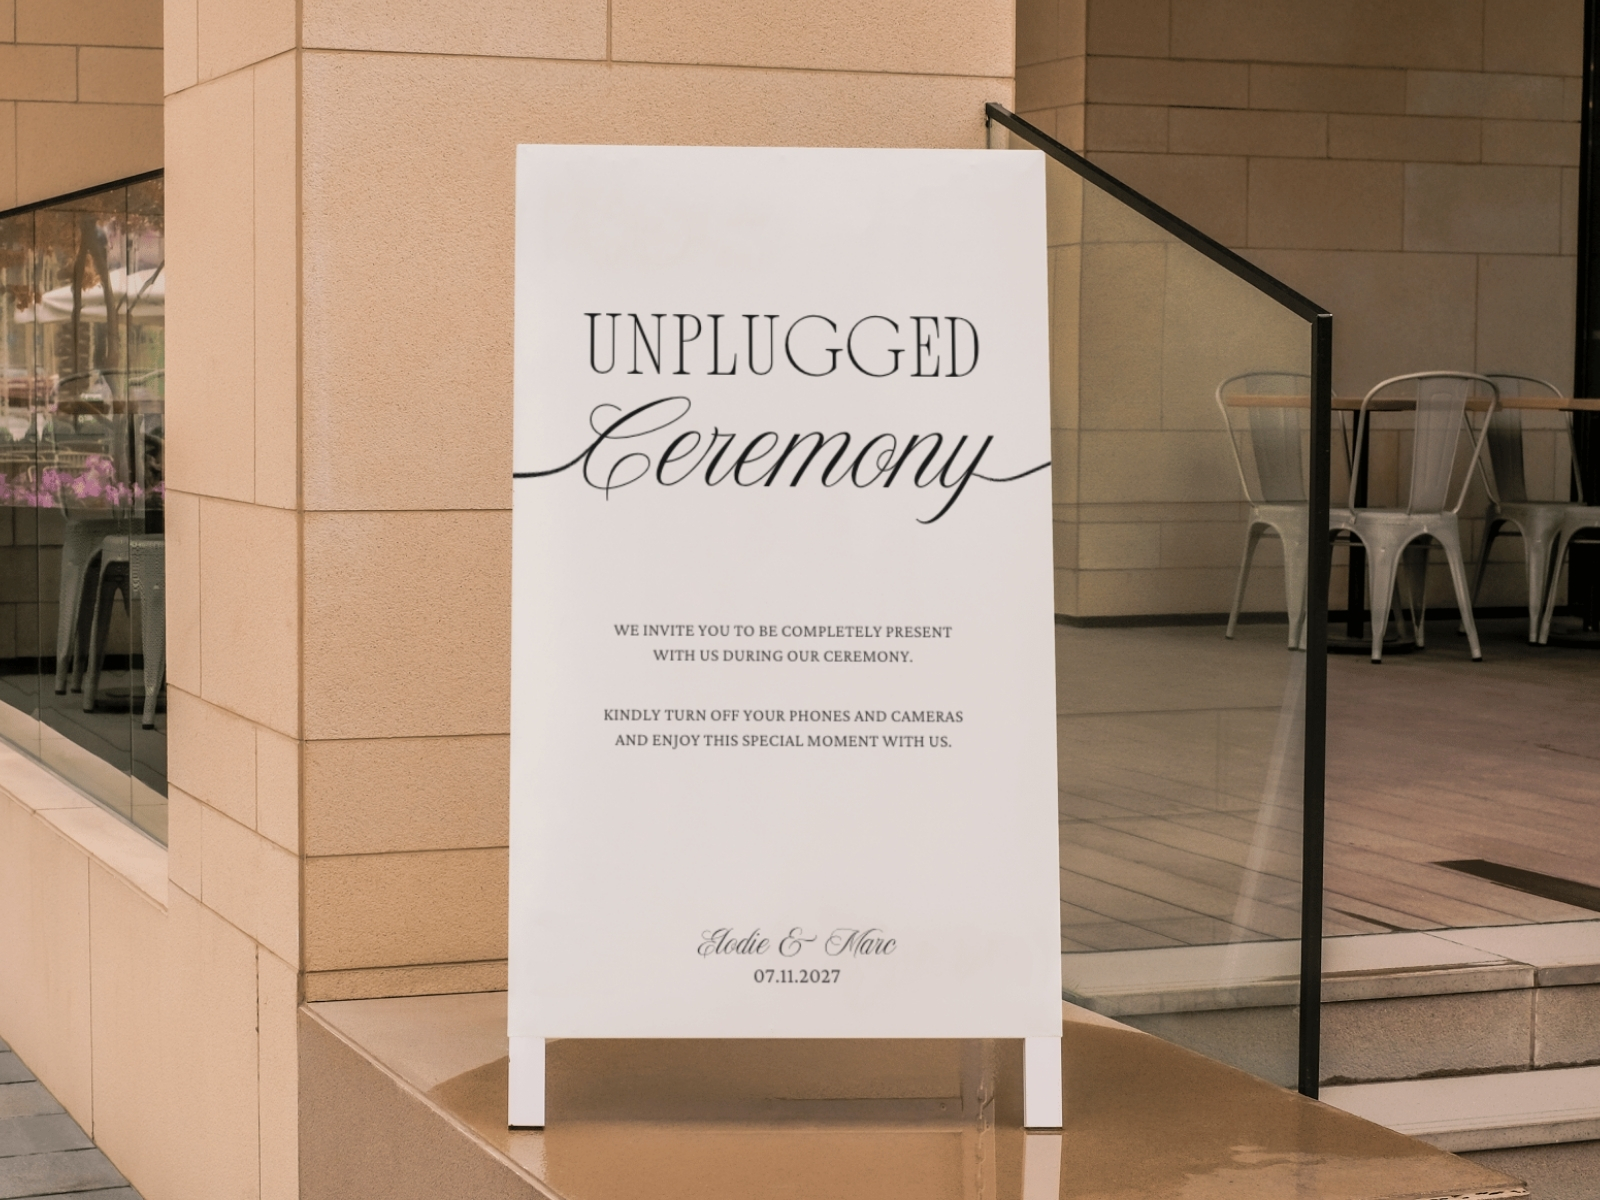
- Unplugged ceremony sign — If you want guests to put their phones away during the ceremony. The wording matters here — you want to be clear without sounding like a school principal. (We'll have a full post on this soon.)
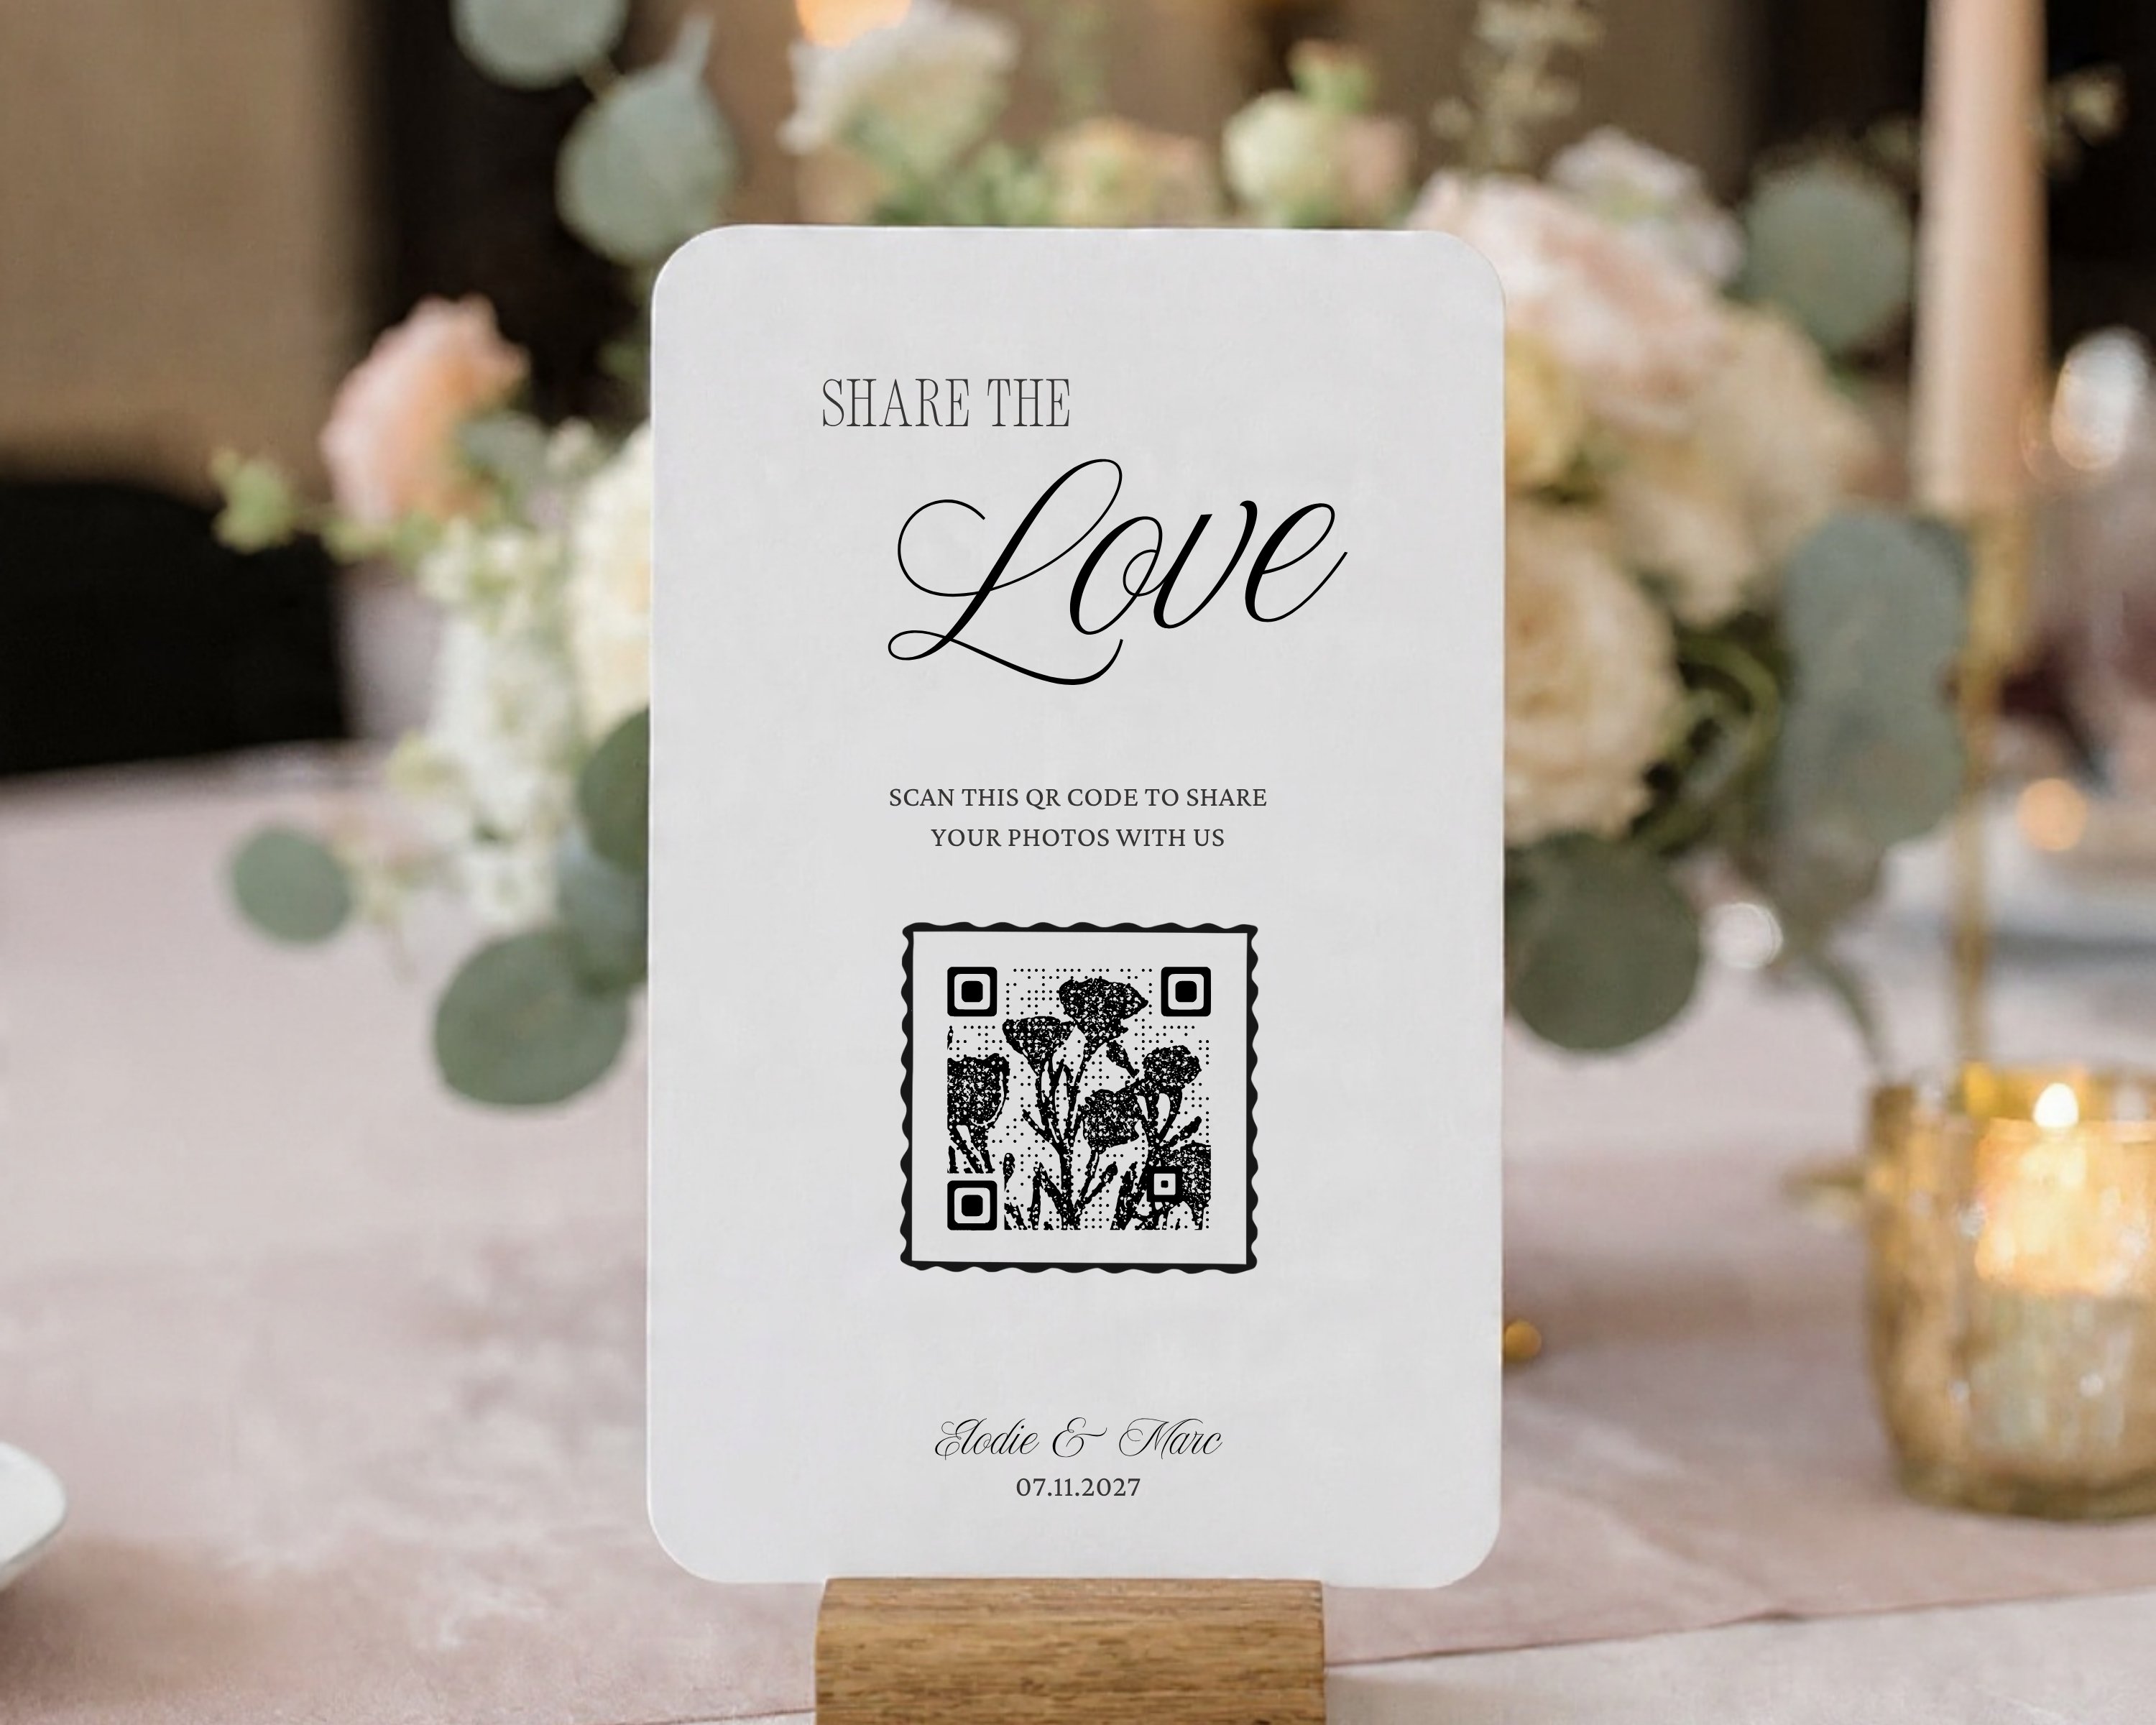
- Photo-sharing QR code sign — A sign with a QR code that links to a shared album where guests can upload their photos from the night.
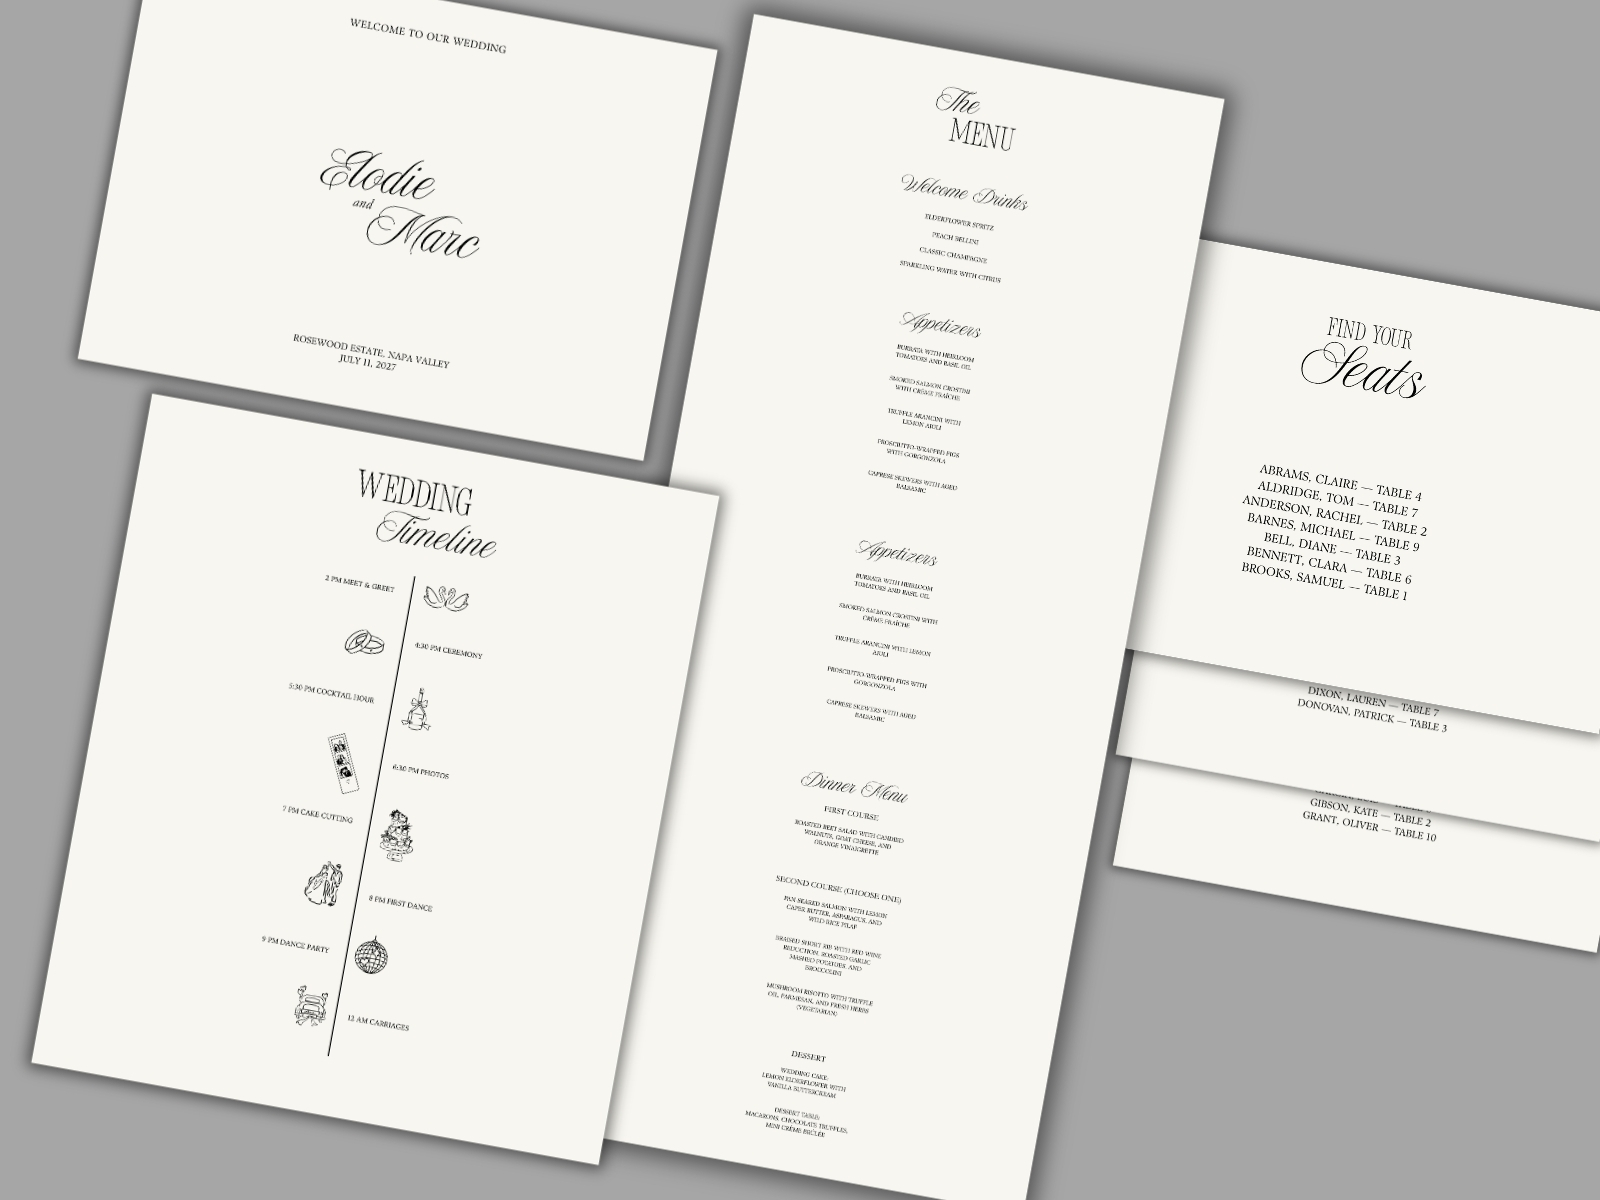
What most couples don't realize: You can replace almost all of this physical signage with a single wedding day website. One QR code at the entrance that gives guests access to the seating chart, timeline, and dinner menu — all on their phone. It's cleaner, cheaper, and you can update it if something changes last minute.
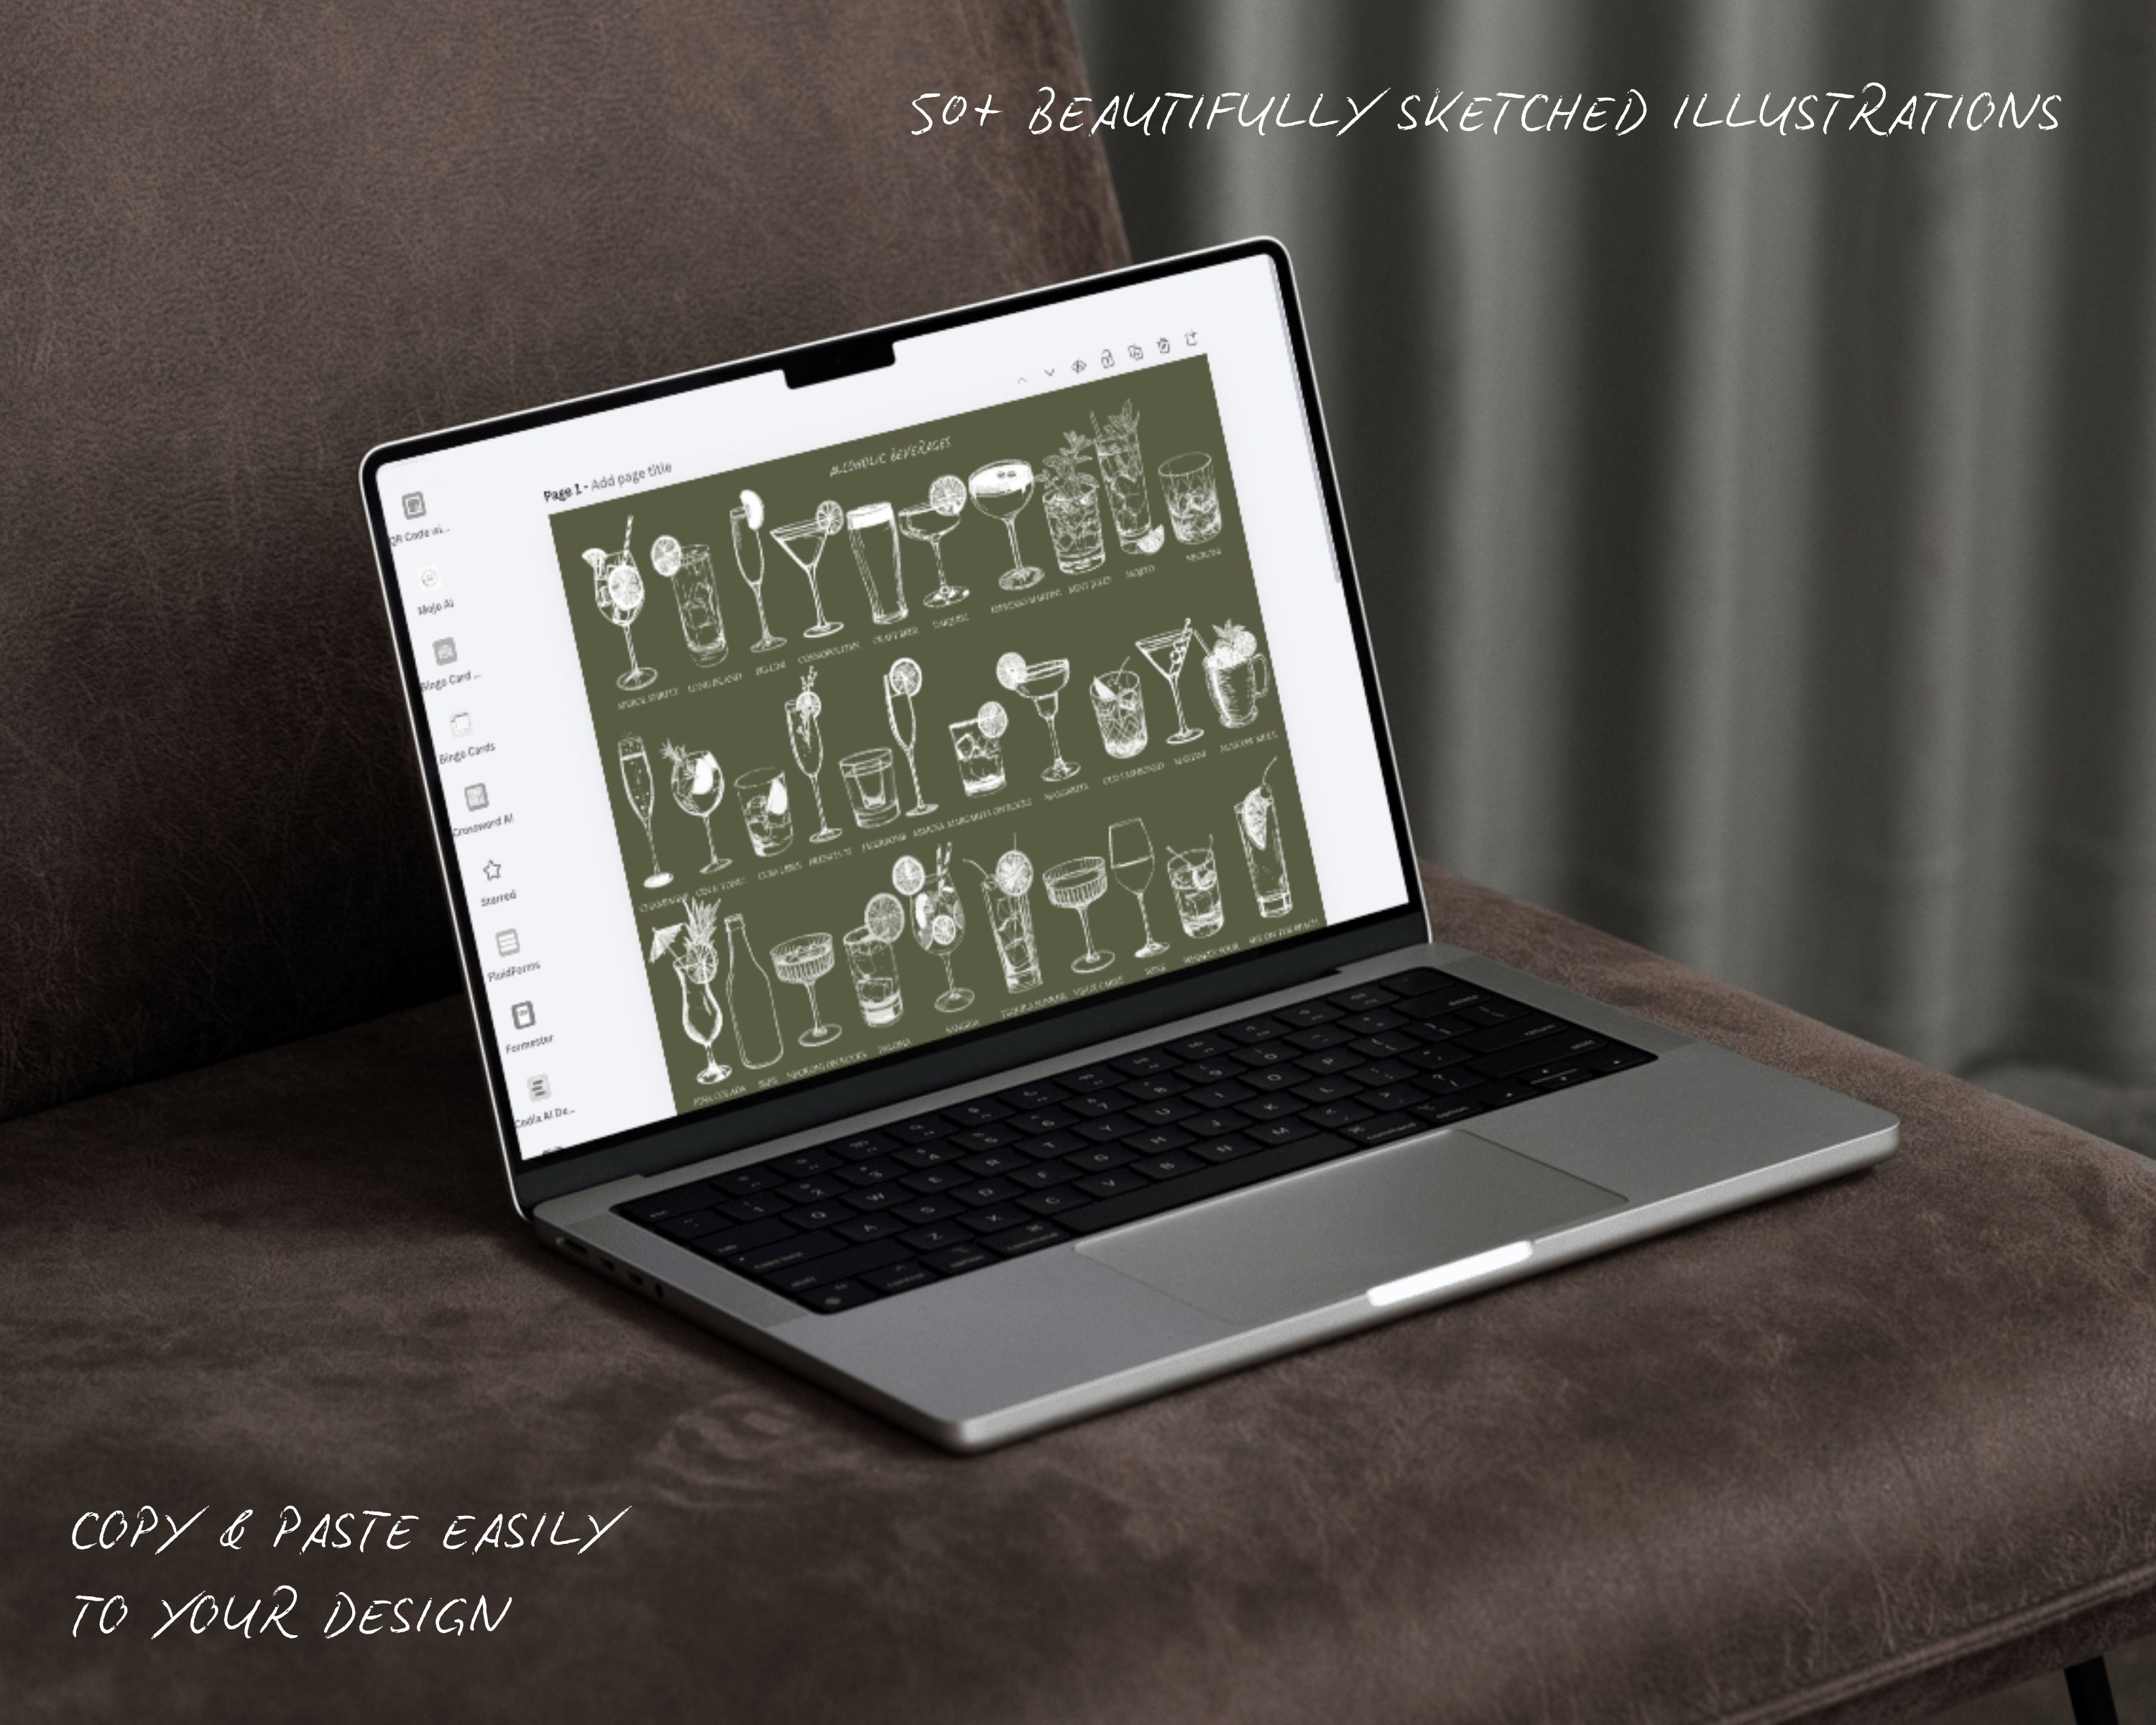
→ *The All-Access Suite includes a wedding day website template (seating chart, timeline, dinner menu), plus printable templates for every sign listed above, plus 50 hand-drawn cocktail illustrations for your bar menu. Whether you go fully digital or want physical signage, it's all there.*
Phase 6: After the Wedding (1–2 Weeks After)
You're married. You're exhausted. You're happy. And you have one more piece of stationery left.
What you need:
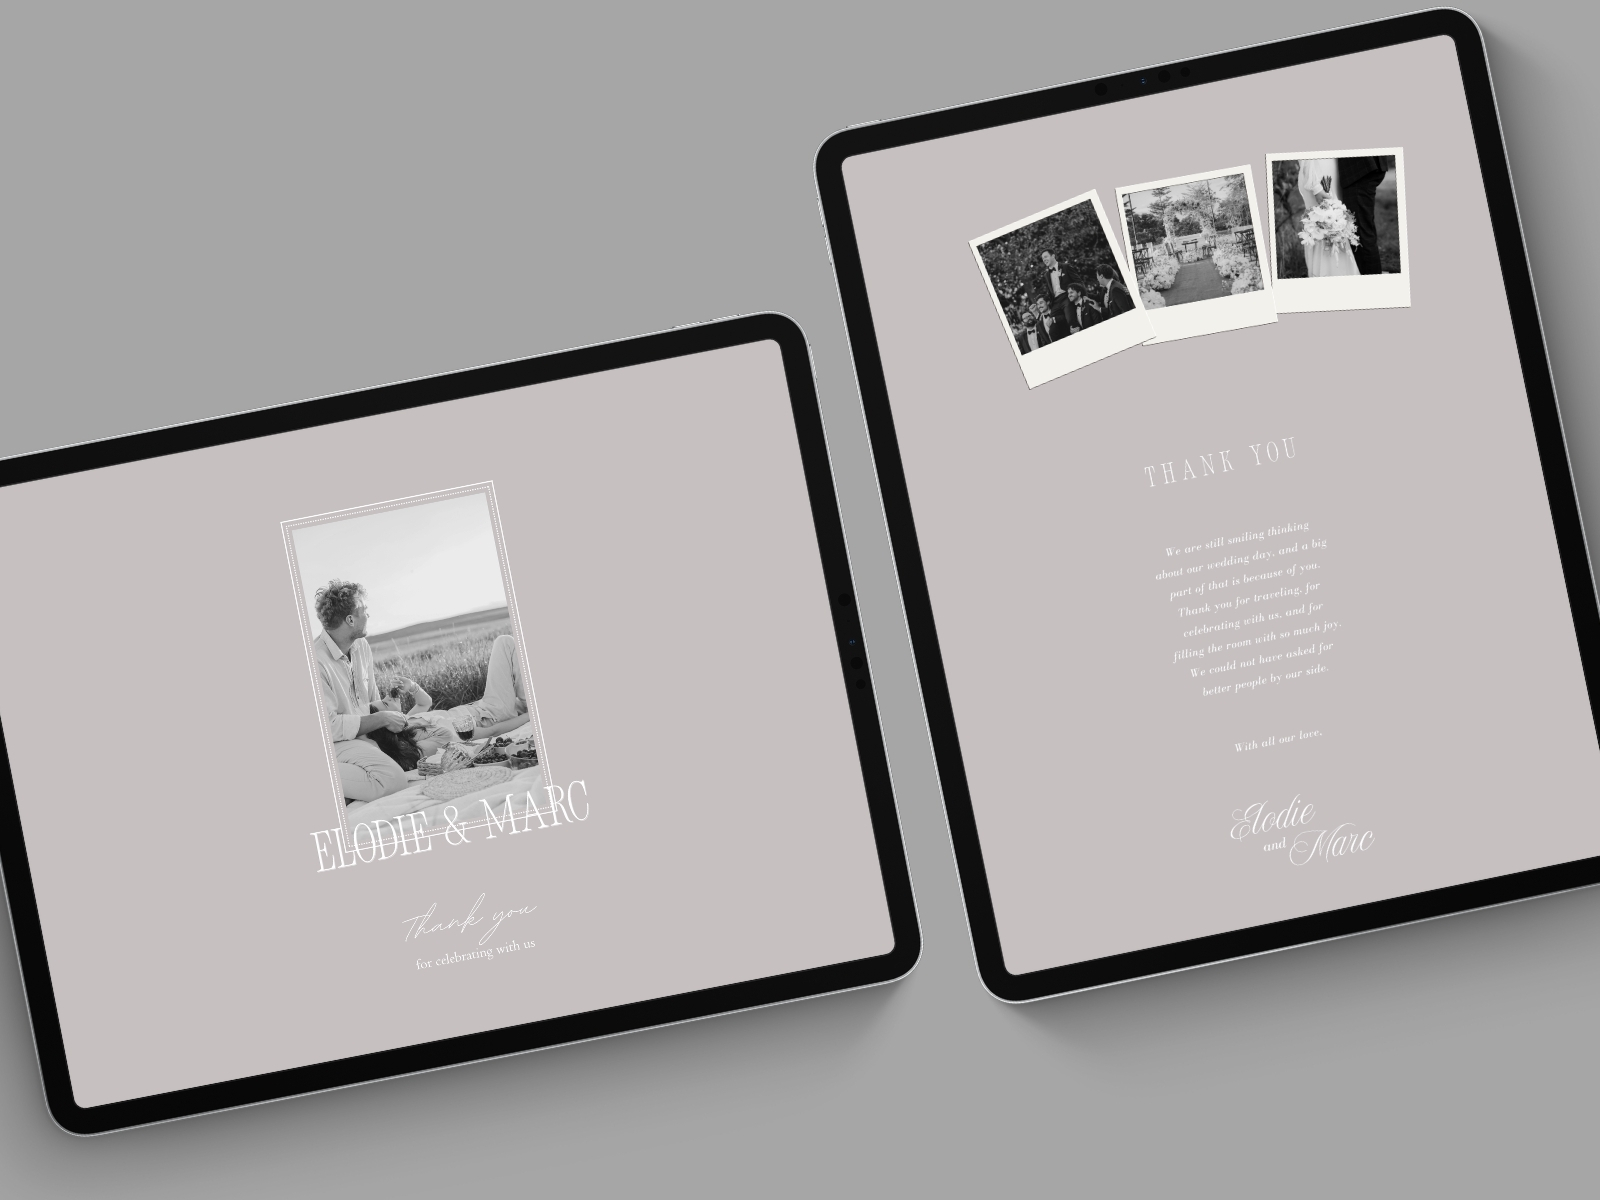
- A thank you message or website — Most couples send individual thank you cards, but a thank you website is becoming the modern norm. Upload your favorite wedding photos, write a heartfelt message, and share the link with everyone. It takes about 10 minutes and it's a beautiful way to close the loop.
What to write:
Something genuine. Thank your guests for being there, for traveling, for celebrating with you. Mention how much the day meant to you. Share a few photos. Keep it warm and short — this isn't an essay, it's a love note to the people who showed up for you.
→ *The All-Access Suite includes a thank you website template. Swap in your photos, personalize the message, publish, and share. Done.*
The Real Cost of Piecing It Together
Let's be honest about what happens when you buy stationery one piece at a time:
You find a save the date template on Etsy for $12. An invitation template from a different shop for $15. You write all your wedding copy from scratch. You Google "wedding bar menu template" the week before and buy one that doesn't match anything else for $8. You spend 3 hours writing your ceremony sign wording. You buy a seating chart template from yet another seller. None of it matches. You've spent $60–80 on templates alone and 15+ hours writing copy that a pre-written kit could have handled in minutes.
Now multiply that by the stress of doing it in between work, venue visits, tastings, and the 400 other decisions you're making.
The Alternative: One Purchase, Everything You Need
The Easy Aisle Studio All-Access Wedding Suite was built to solve exactly this problem. It's a complete wedding stationery system — every template, every word of copy, every guide — organized into 5 phases that follow your actual wedding timeline.
What's inside:
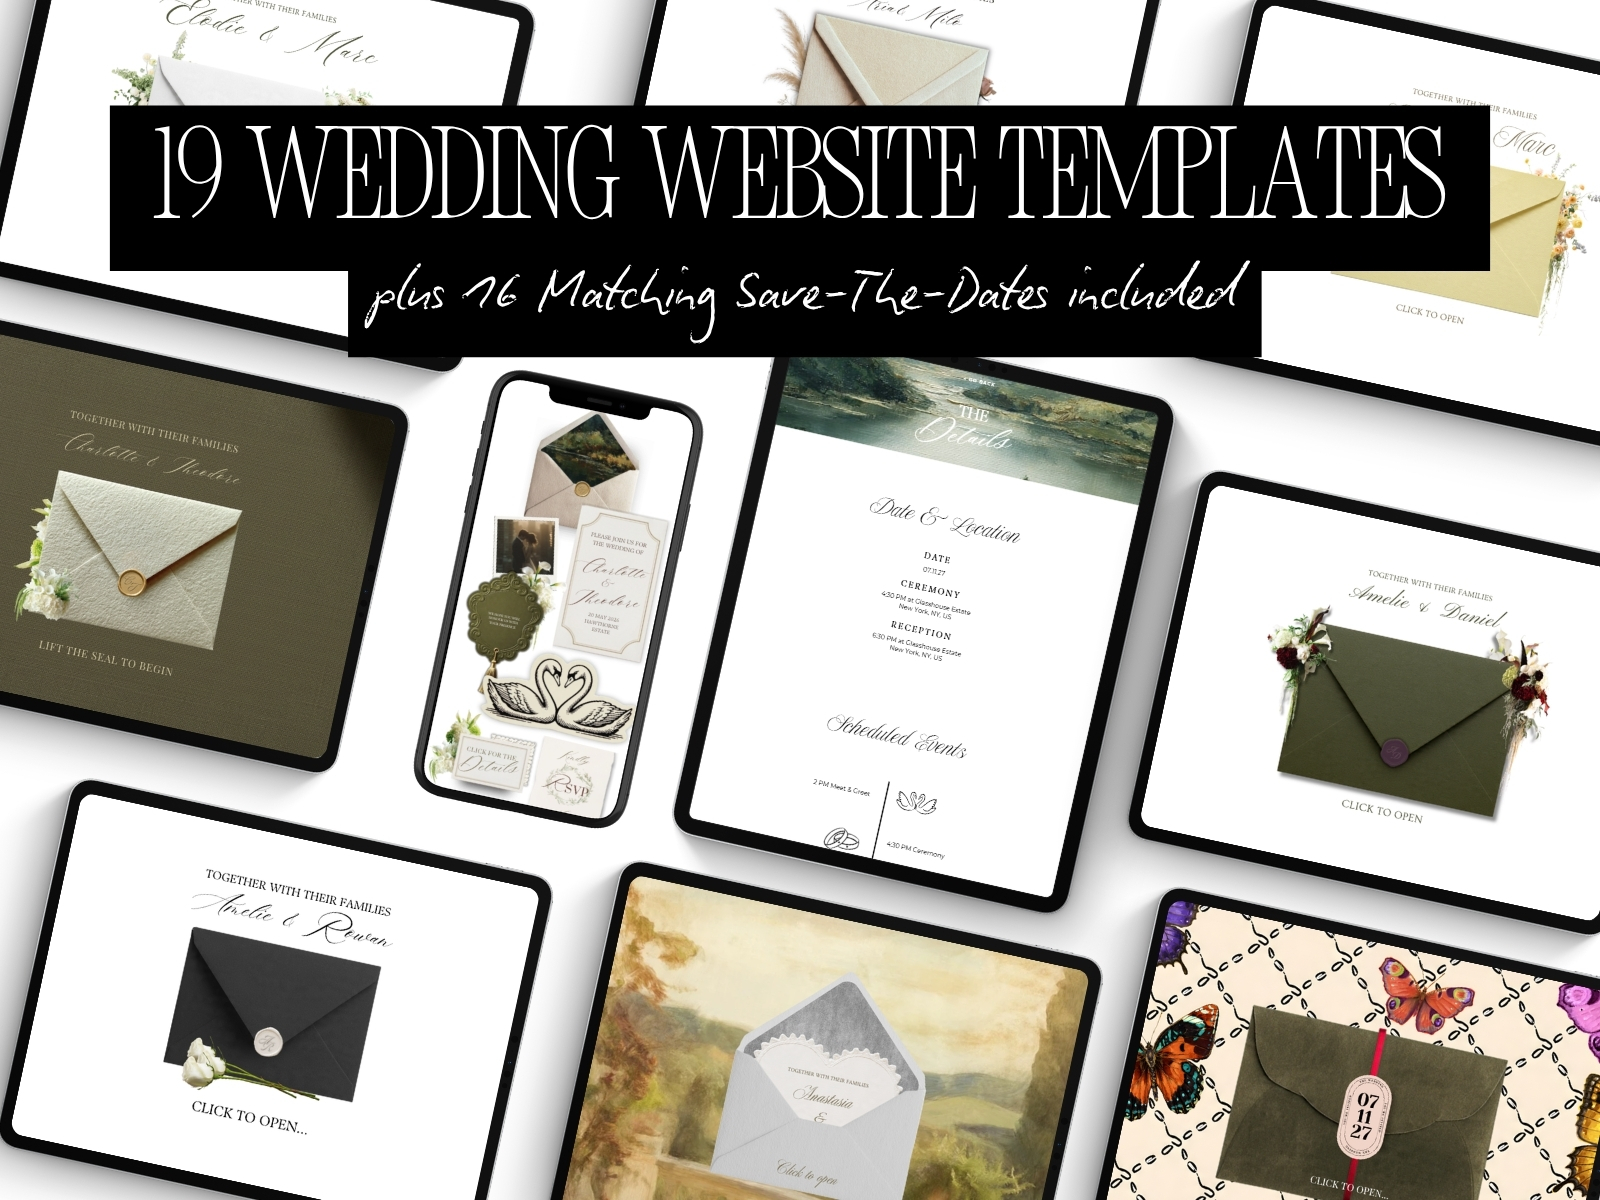
- 19 wedding website templates & 16 save the date website templates (the full collection and growing)
- A wedding day website (seating chart, timeline, menu)
- A thank you website template (to send to guests after the wedding)
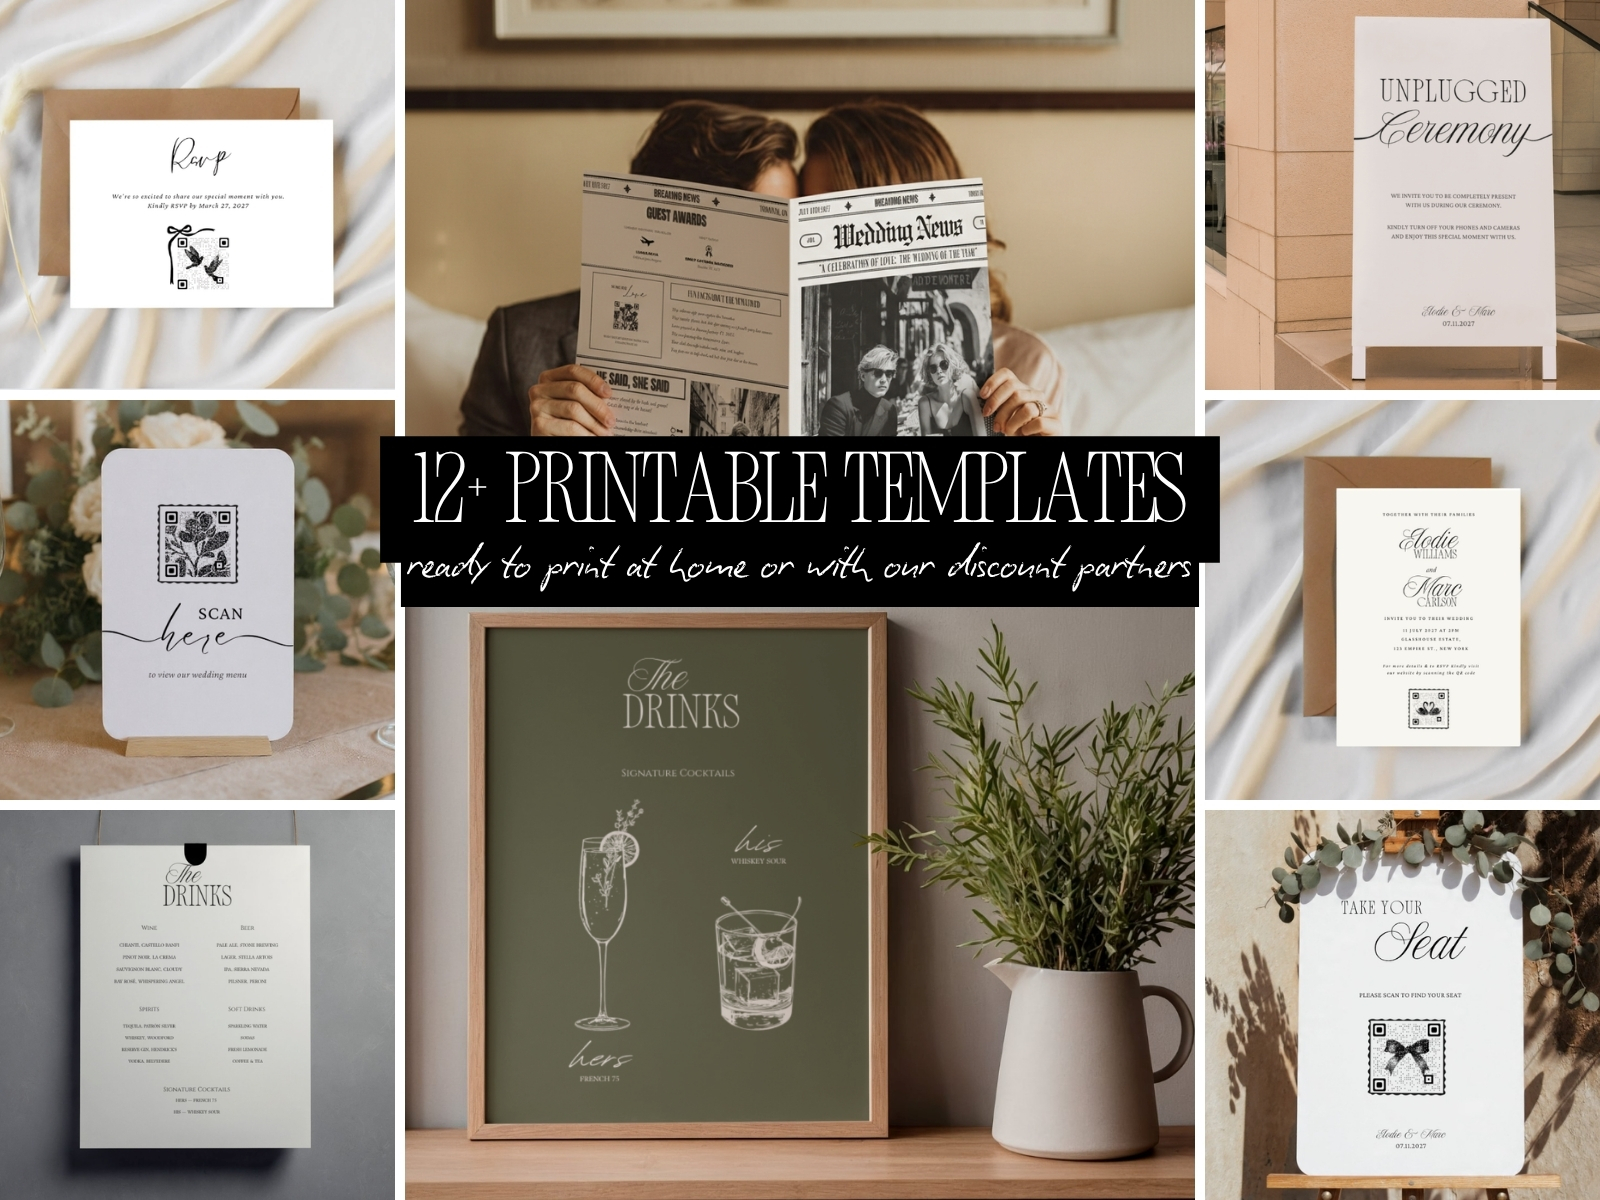
- Printable templates for invitations, RSVP cards, save the date cards, bar menus, welcome signs, table numbers, place cards, menu cards, ceremony signs, seating signs, and photo QR signs
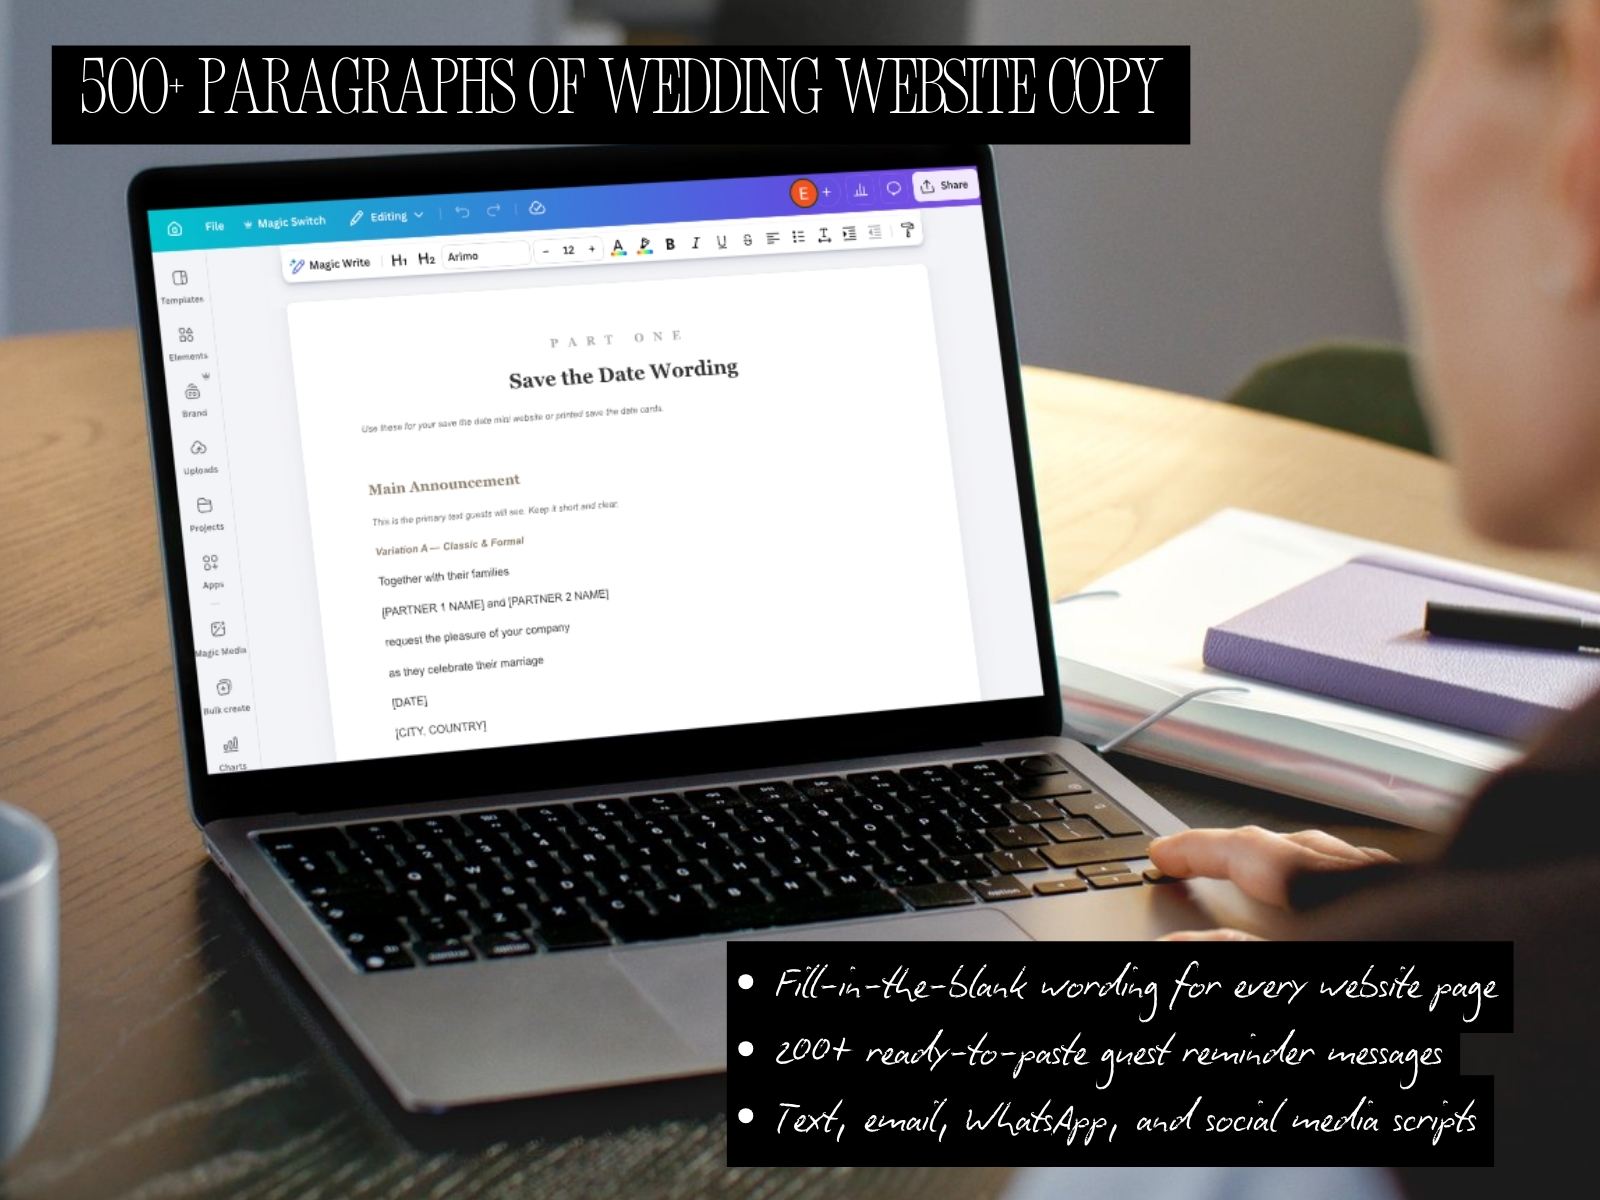
- A copy kit with 500+ paragraphs of fill-in-the-blank wording for every page of your wedding website & 200+ guest reminder scripts for every stage of communication
- 50 cocktail and drink illustrations
- Priority support from the person who built it
- ... along with step-by-step guides for every template
Everything works in the free version of Canva. No design skills required. Open the phase you're in, follow the guide, fill in the blanks, and move on.
**Founding member pricing is $197** with coupon code IDO50 (standard price is $249 once the first 50 spots are filled). One purchase. Nothing else to buy.
Browse the template collection and see what's included → browse our templates here
---
*This is post 13 in the Easy Aisle Studio wedding website blog series. If you're just getting started, the [complete page-by-page guide] is the best place to begin.*